Note From the Editor: This week, Superhero Hype’s cosplay correspondent, Ashlynne Dae, is back with an in-depth look at how she made her Power Girl costume. If you don’t know anything about Power Girl, the short version is that she’s Kara Zor-L of Krypton from an alternate universe. That makes her the counterpart of Supergirl a.k.a. Kara Zor-El. Power Girl is considerably more…developed than her younger doppelganger. She’s also got one of the most famous costumes in comics.
Hello lovely humans! Today I’m going to be covering how I made my Power Girl costume. This was a fun project to tackle, and a lot more involved than it looks due to the detailing. So let’s jump in!
RELATED: Superhero Hype Cosplay: Rogue
I had a lot of fun making this costume, even though it isn’t the most comfortable to wear. That fabric is sticky! But I think it looks pretty cool and I hope you do too. Thanks for reading!
Patreon: patreon.com/ashlynnedae
Official Site: ashlynnedae.com
Instagram: @ashlynnedae
Twitter: @ashlynne_dae
Premium Only Fans: onlyfans.com/ashlynnedae
Free Only Fans: onlyfans.com/ashlynnedaefree
Superhero Hype Cosplay: Creating Power Girl
-
Superhero Hype Cosplay: Creating Power Girl #1

As you know, I’m a big fan of making my patterns for stretch garments by sewing a mock-up, drawing my seam and design lines directly on the mock-up and cutting that out to transfer to pattern paper to get the final pattern. And that’s exactly what I did here.
I always take a pattern from my catalog that’s as close as possible to the end goal and start from there, and that happened to be my princess seam leotard block that I had drafted for another cosplay.
So using that as a base, I cut out a mock-up, sewed all the seams together with a basting stitch and pulled it on. Using a marker, I drew all the seam lines that I wanted in the end pattern, and that included changing the angle of my princess seam to curve into the armscye instead of going to the shoulder.
-
Superhero Hype Cosplay: Creating Power Girl #2

I used this pattern because it was very fitted over the bust already, so I wouldn’t have to worry about fitting it, just changing my seams. I drew where I wanted my cut-out as well.
If you use this same technique make sure you wear any undergarments you’ll be wearing with the finished costume so you can use those as a guide to how big or small you can make that cut-out.
-
Superhero Hype Cosplay: Creating Power Girl #3

I also added a princess seam to the back and carried those seams onto the sleeves so that they flowed nicely. If I had used a different fabric I would have eliminated some of those redundant seams and gotten more creative with the patterning. But I knew it was going to be a lot more difficult with the fabric I had chosen so I kept those seams to make fitting and wearing easier.
I used a stretch white vinyl for this, a lot less stretchy than the usual fabric I tend to work with. But I love the look and the fact that it didn’t need a lining. When you work with white, you have to consider whether or not the fabric will be opaque enough to be worn on its own. So don’t make that mistake!
-
Superhero Hype Cosplay: Creating Power Girl #4
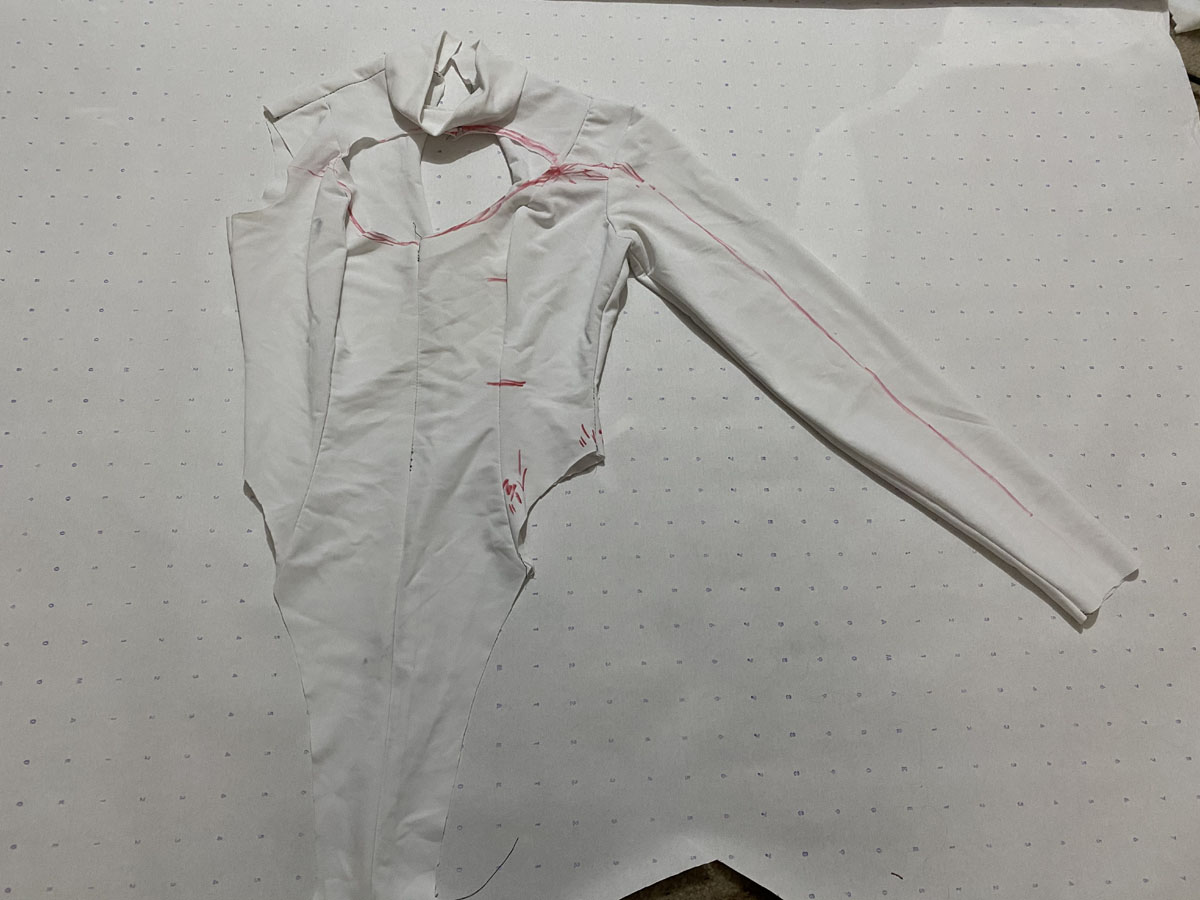
Once I had that mock-up all drawn all over, I cut out each piece ( yes even on the seams you sewed) and laid them flat on paper to transfer. Making sure to mark all my notches and so I know where things line up in construction I added seam allowance and ease (this fabric needs a little extra wearing ease) and then cut that out of my fabric.
-
Superhero Hype Cosplay: Creating Power Girl #5
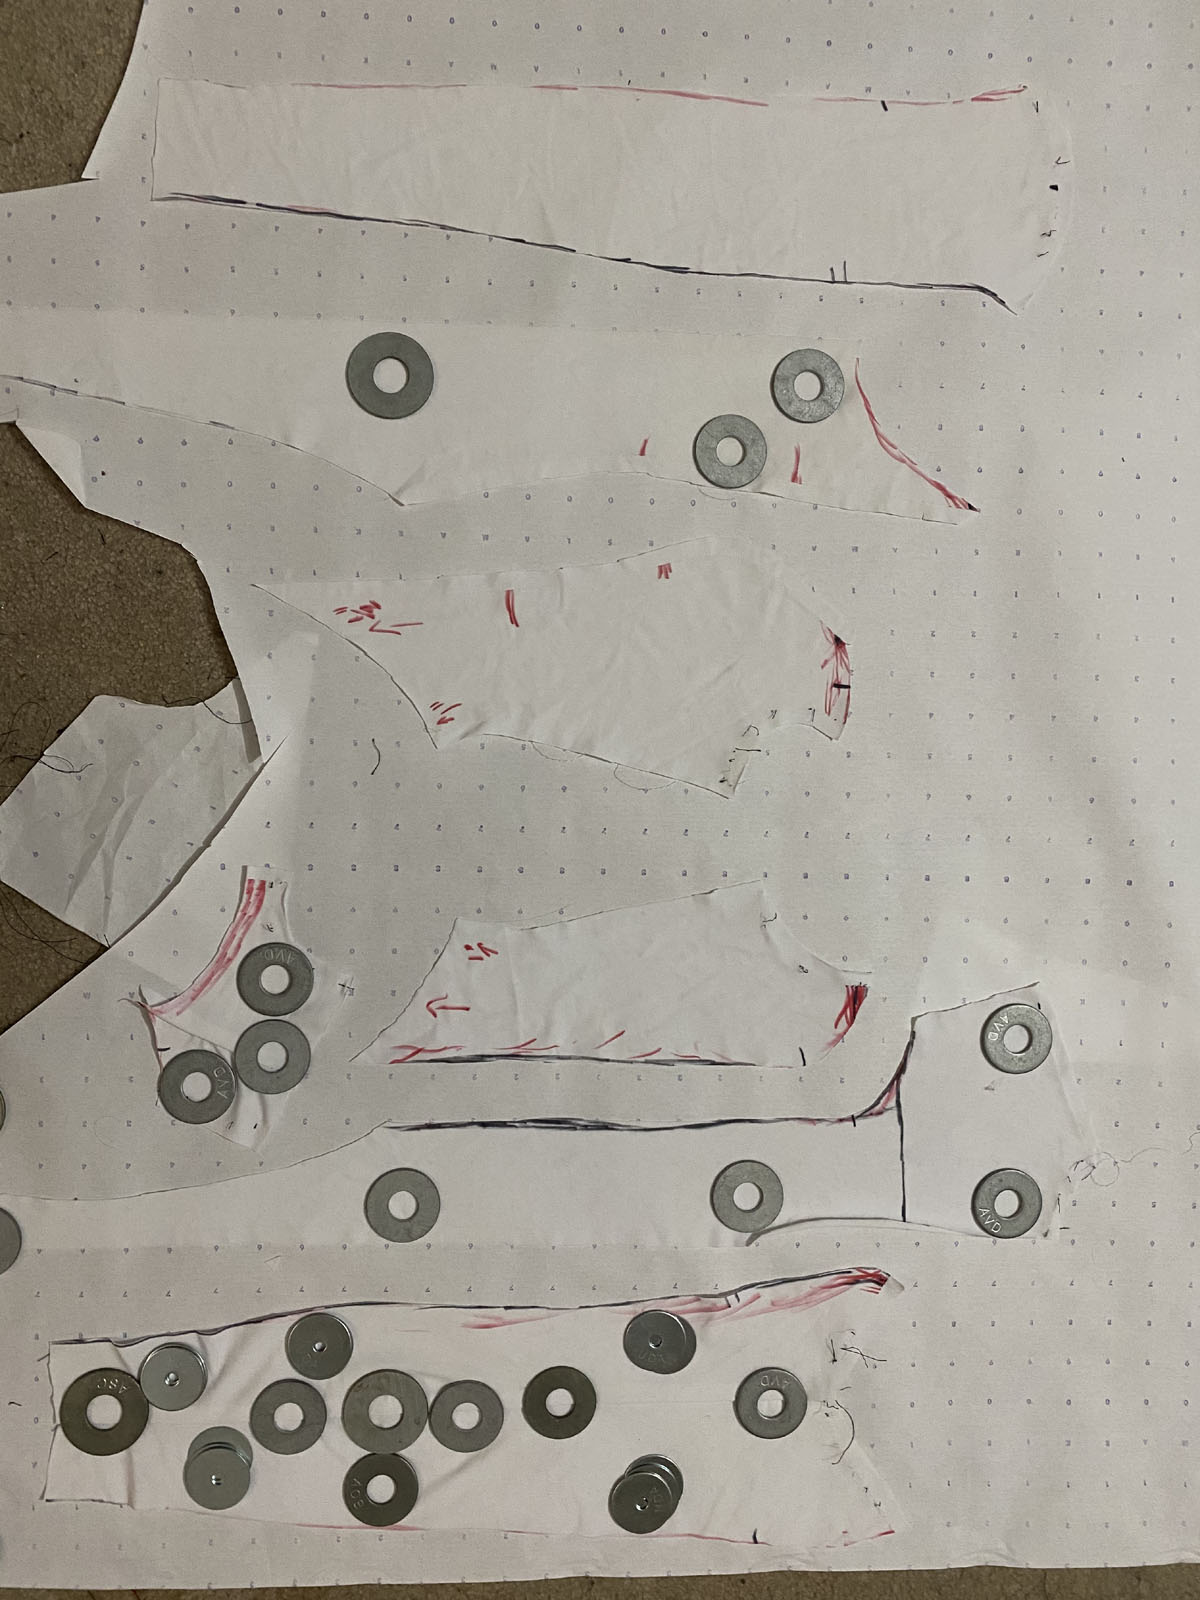
Sewing this fabric can be a little challenging as it tends to stick and bunch if you aren’t careful. I highly recommend a Teflon foot for your machine, I use it for most projects as it helps prevent the feed dogs from pulling the bottom fabric layer faster than the top causing your seam to become offset, but for this it is invaluable!
-
Superhero Hype Cosplay: Creating Power Girl #6
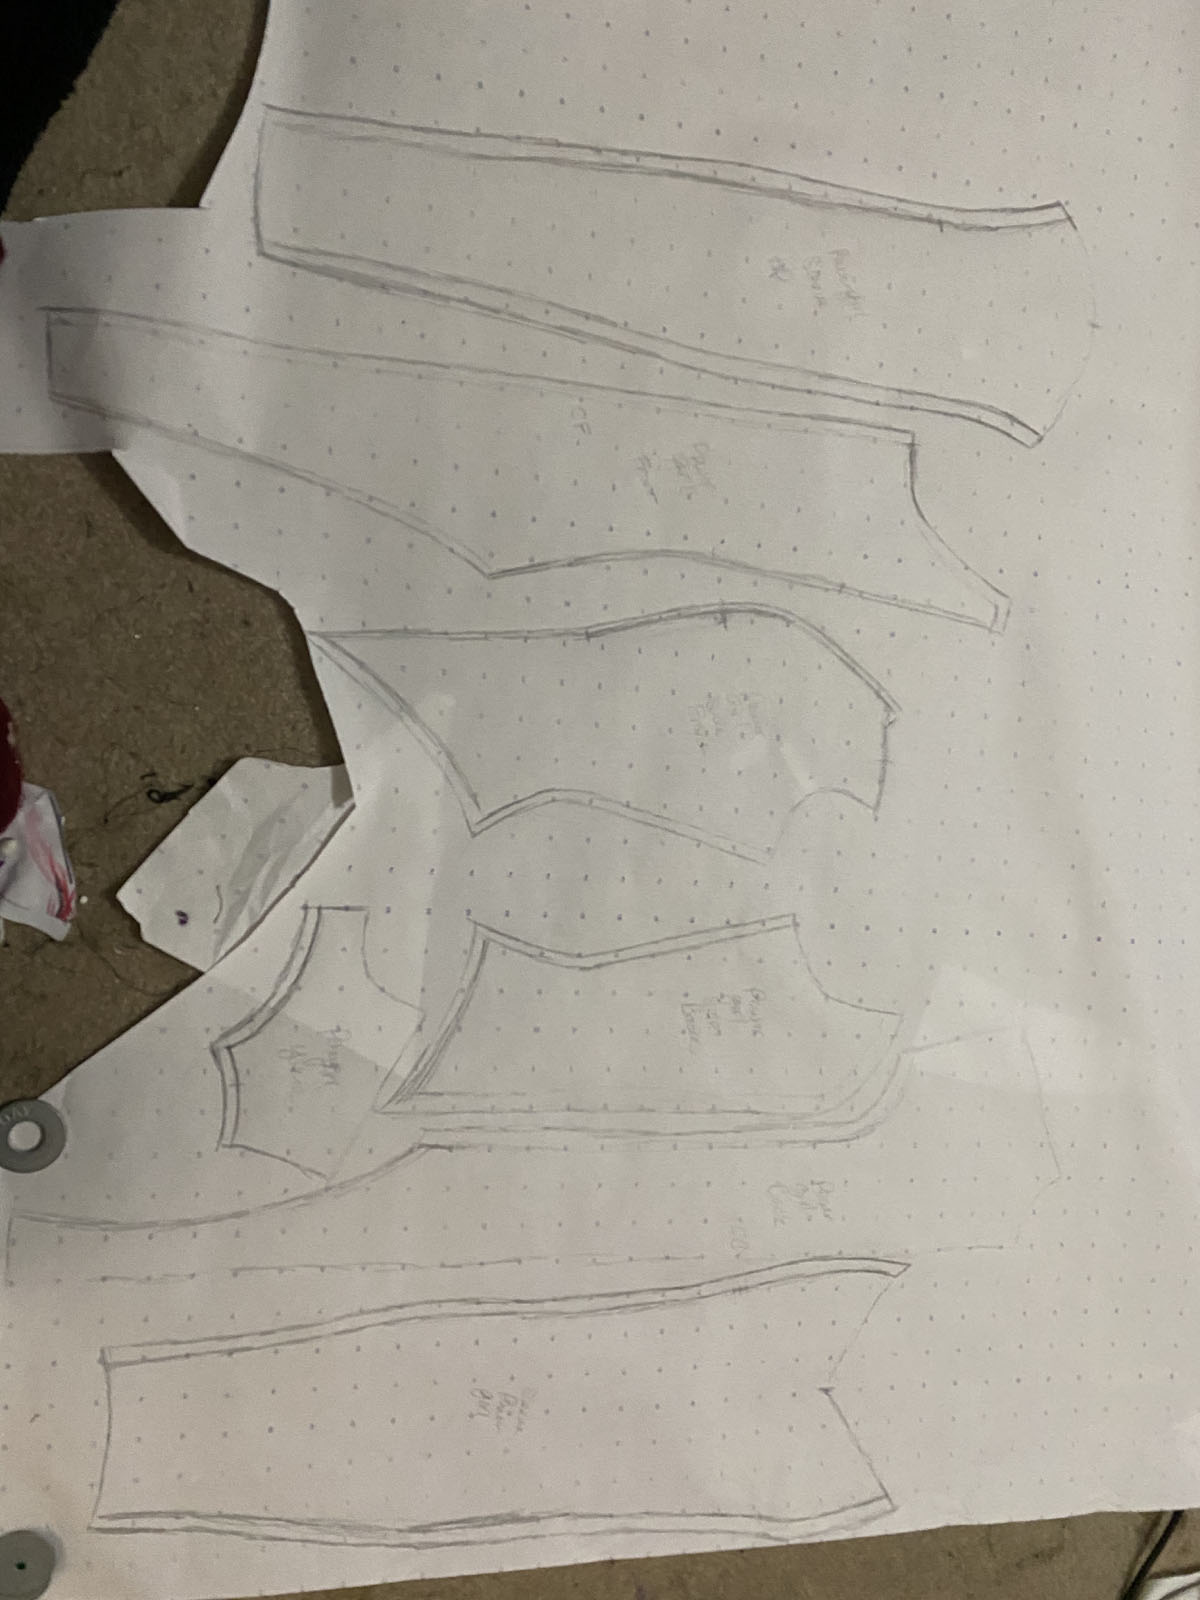
I stitched all the body pieces together and then topstitched the seam allowance of each seam down (this is called felling a seam) to add some dimension and interest.
-
Superhero Hype Cosplay: Creating Power Girl #7
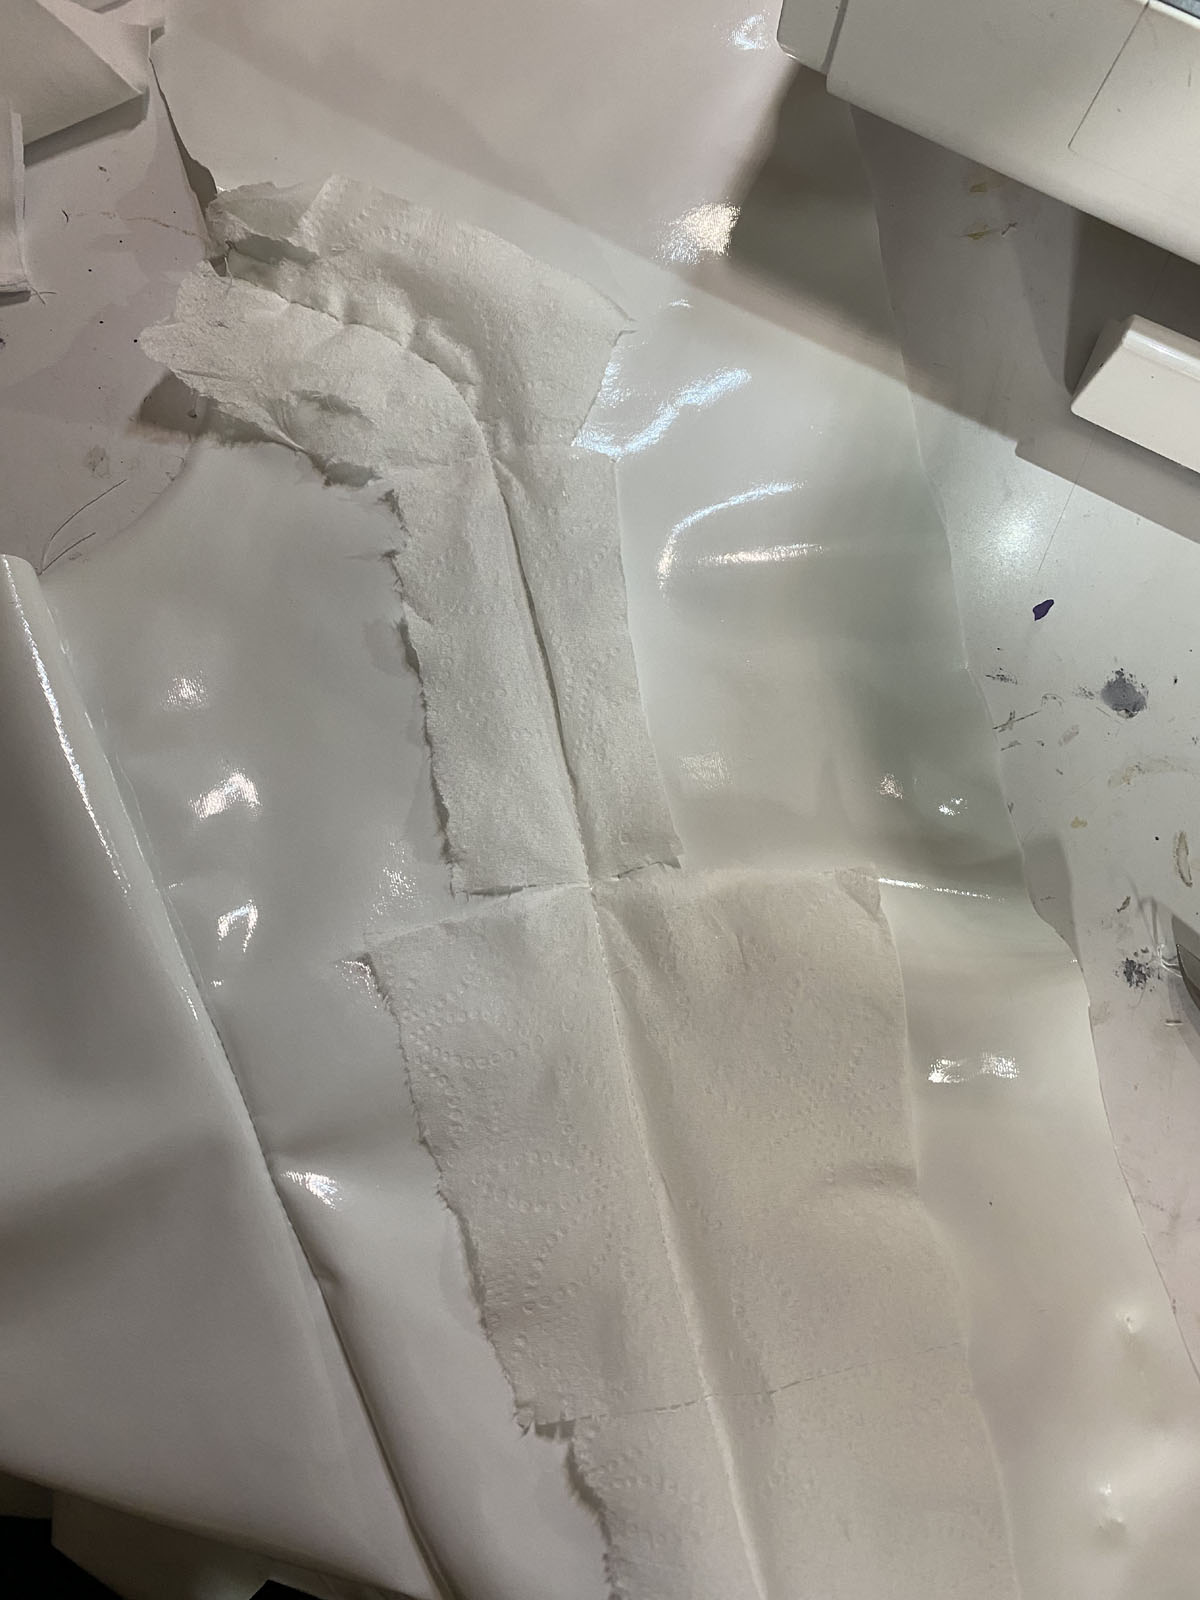
Even though I had a Teflon foot on my machine, top stitching that fabric was proving difficult, so I ended up using a ply of toilet paper between the face of the fabric and the machine foot to help it glide through.
-
Superhero Hype Cosplay: Creating Power Girl #8
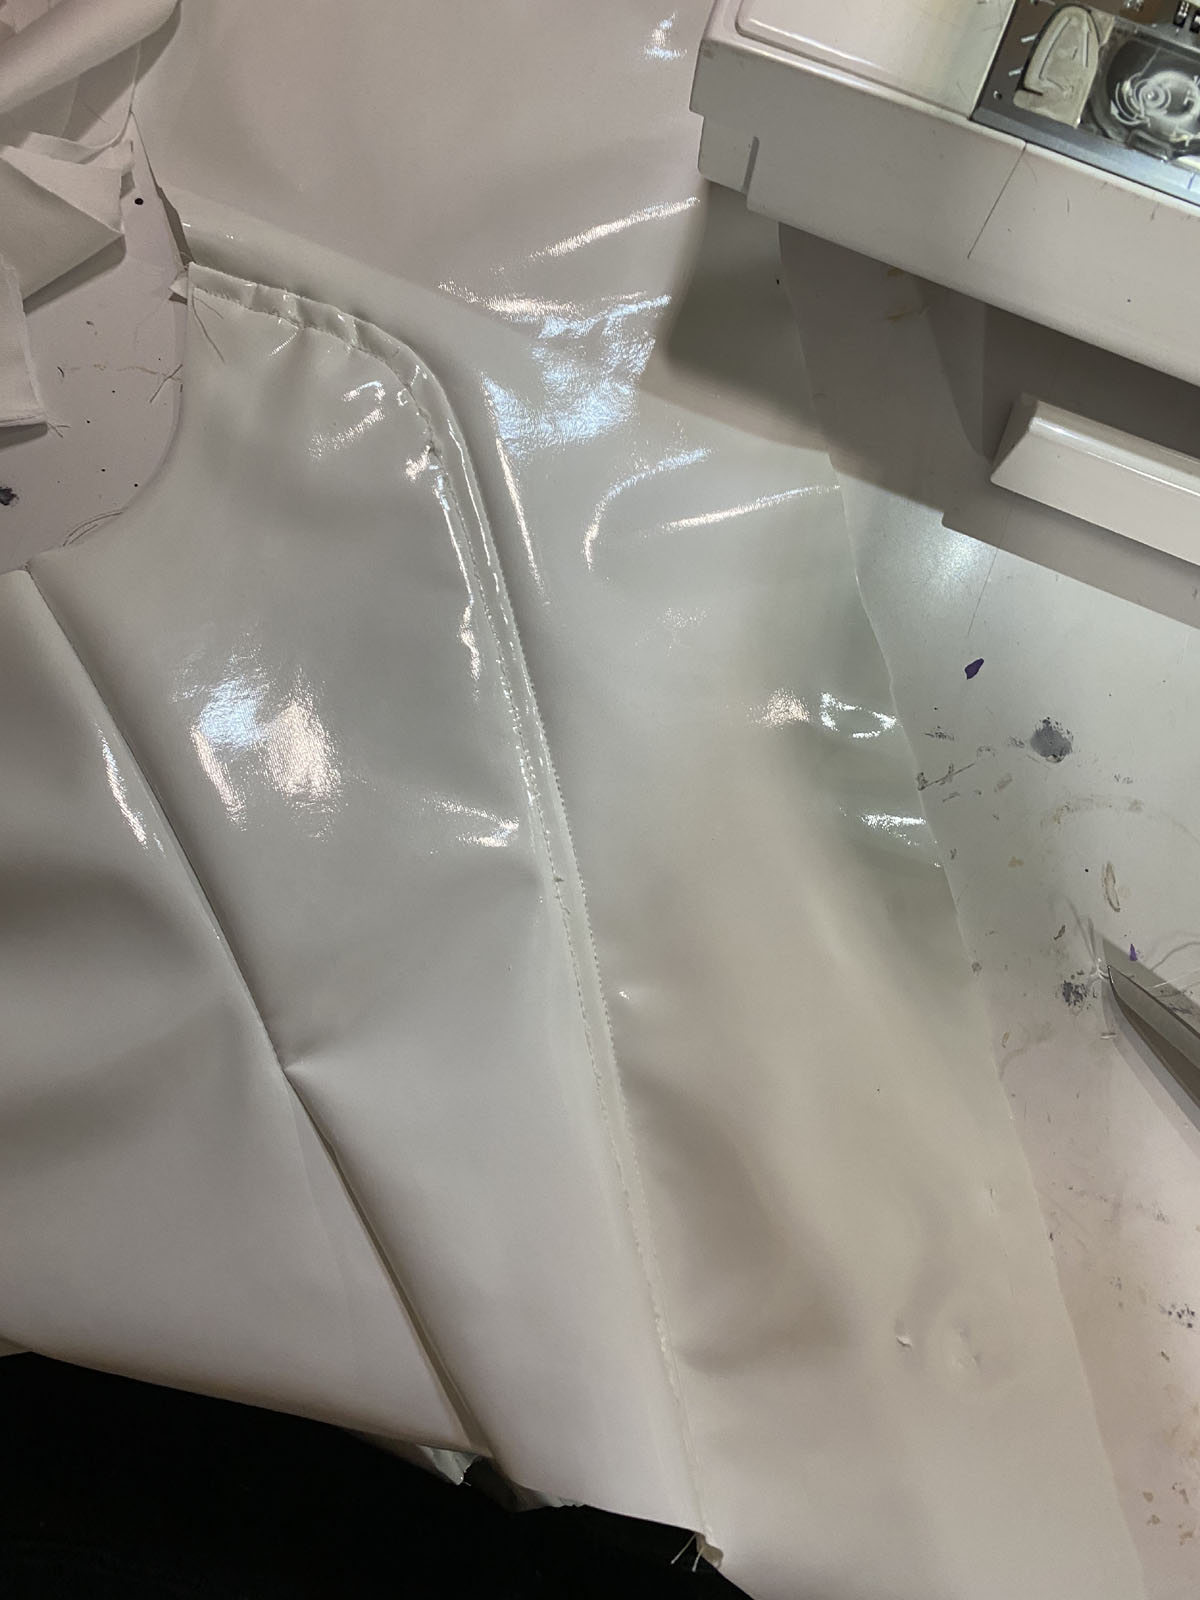
You can also use tissue paper, it just helps you prevent puckers and keep your stitches neat, and you can see through it enough to see where you are going. It’s a great use for any panic bought toilet paper from last year if you have that still lying around!
-
Superhero Hype Cosplay: Creating Power Girl #9

You will be picking paper out of the seams with some tweezers, but it’s better than having puckery seams in my opinion.
-
Superhero Hype Cosplay: Creating Power Girl #10
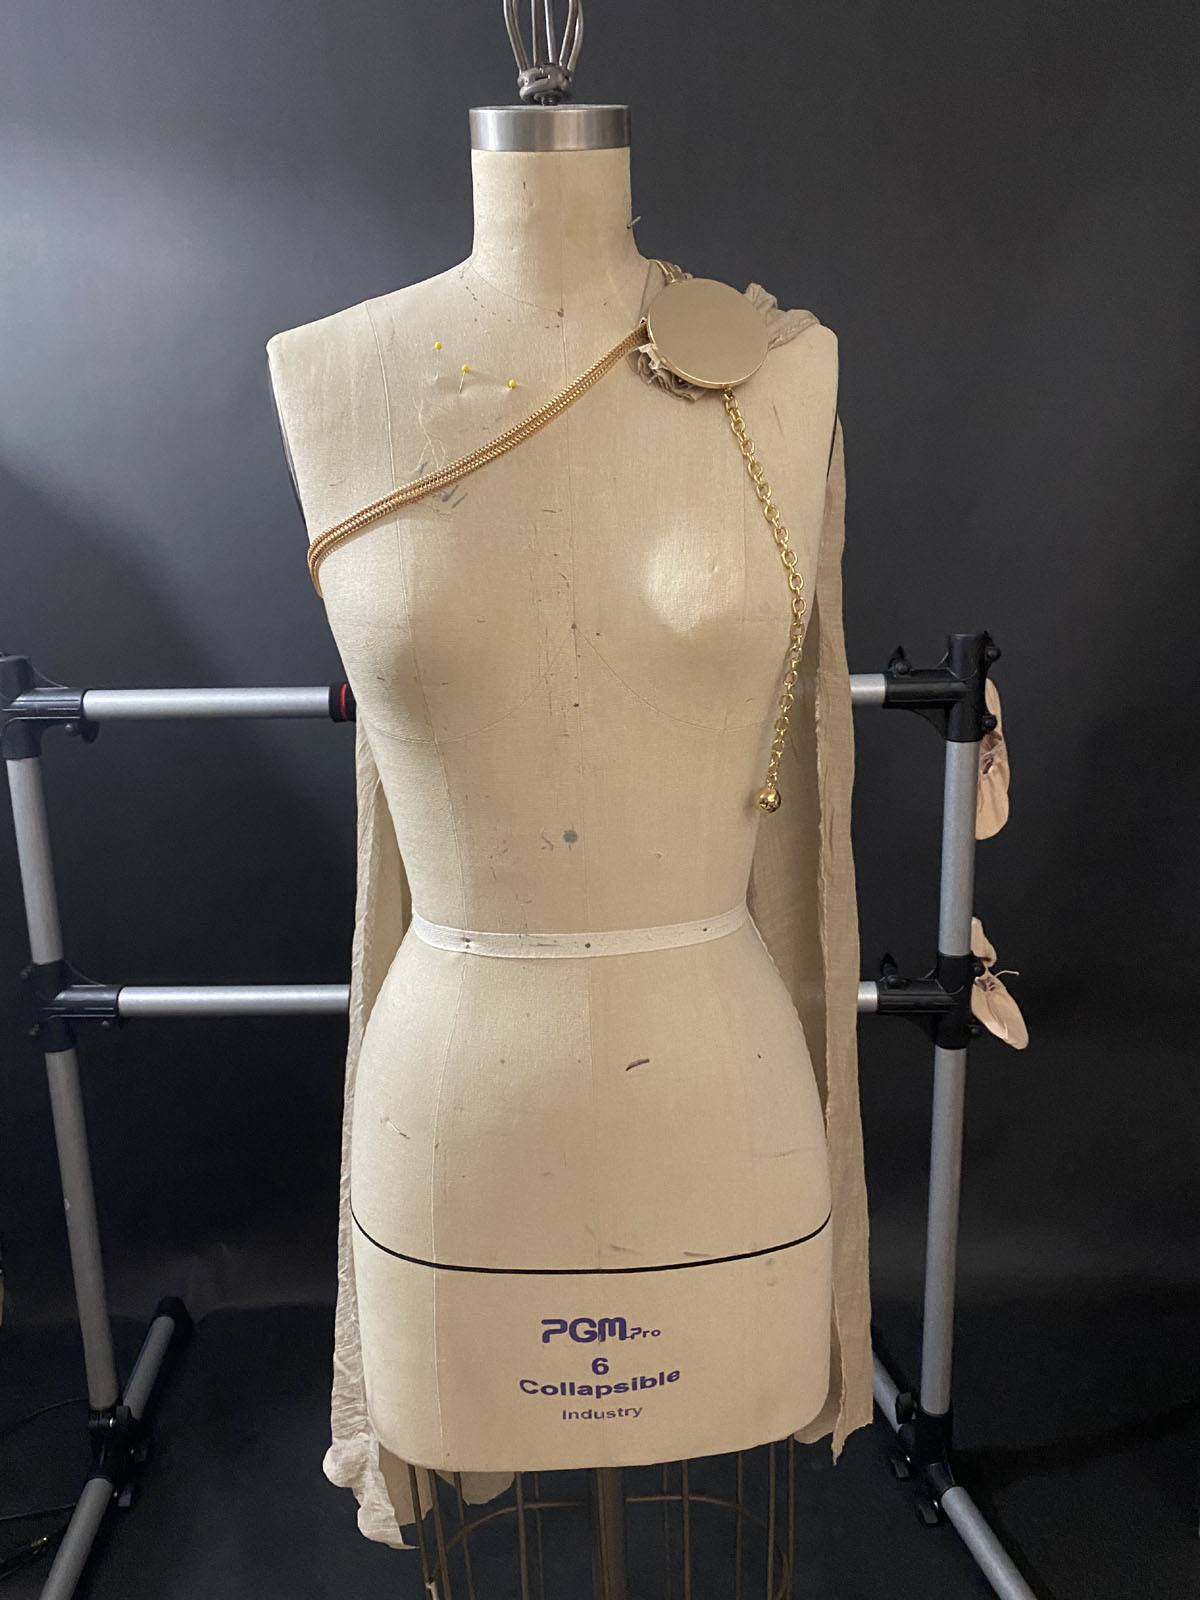
Once I finished the body, I constructed the sleeves in the same way, attaching them so that my detail seams lined up correctly.
I added my neckband on and sewed my zipper in the back, gave all the raw edges a hem with a bit of clear elastic for stability and the body was done. I then moved on to the cape.
-
Superhero Hype Cosplay: Creating Power Girl #11
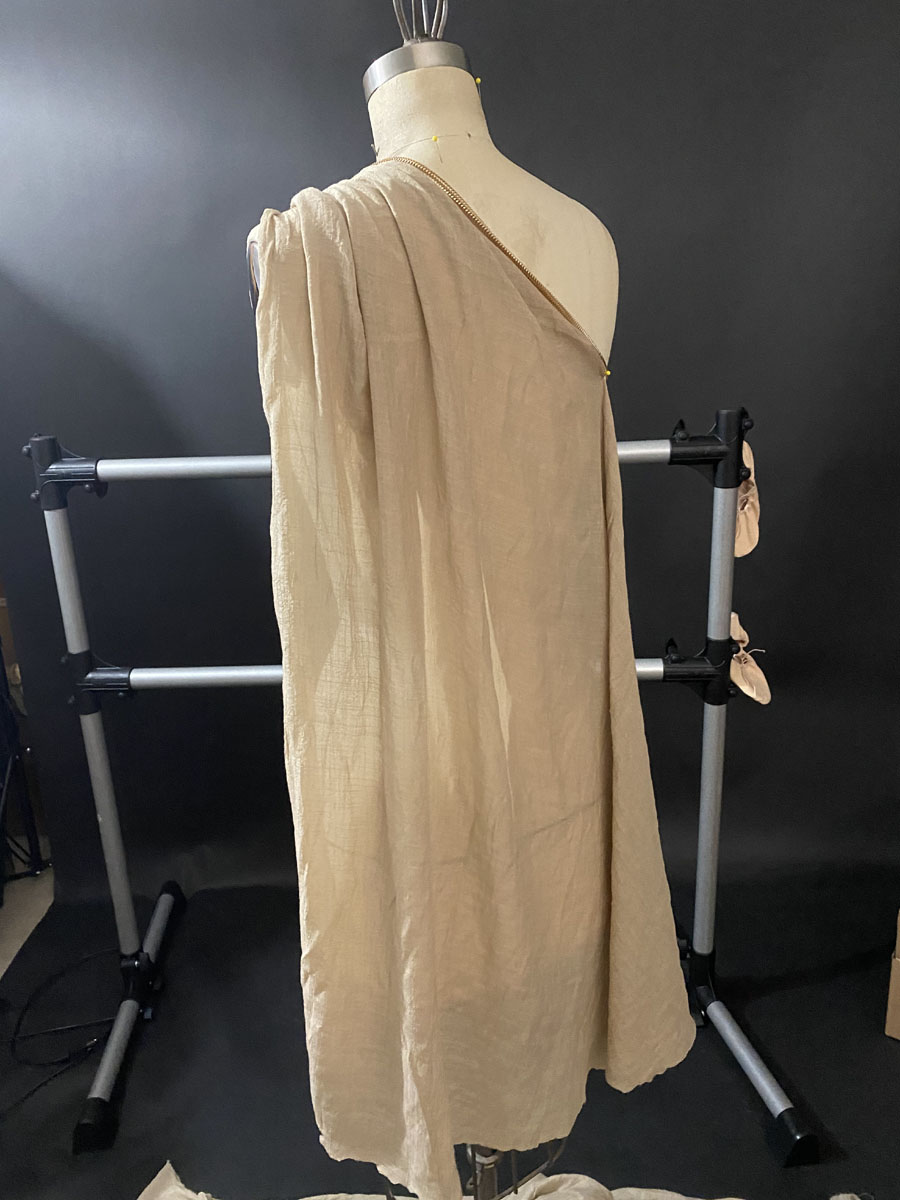
For the cape, I used a bit of scrap fabric to drape the asymmetrical cape design she sports. Her cape is only on one shoulder attached with a medallion and chain under her other arm. So I focused the fullness from the shoulder and let the rest of the fabric cross the back where it felt natural.
-
Superhero Hype Cosplay: Creating Power Girl #12
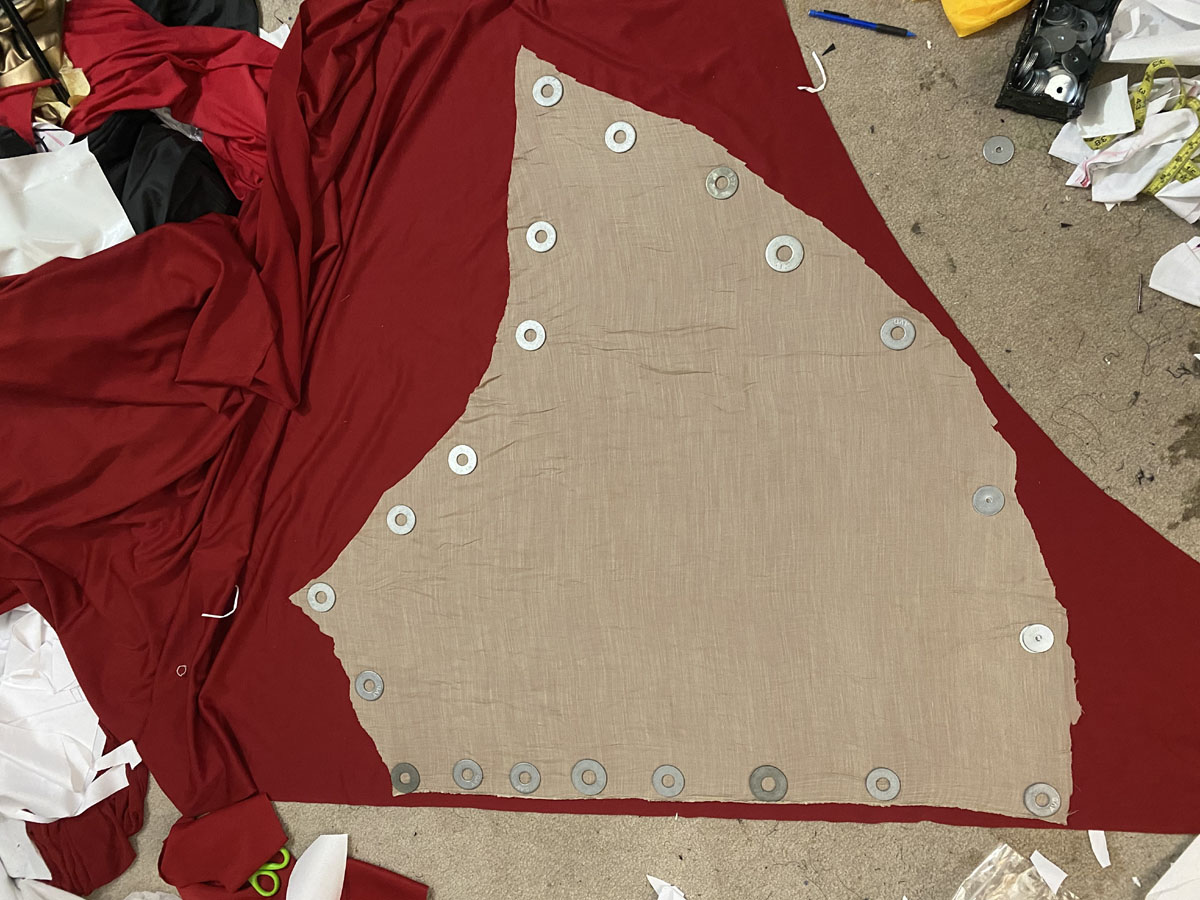
The shape I ended up with looked a lot like a normal circle cape but with an asymmetrical bottom. I used the drape as my pattern and evened it out as I cut the cape fabric.
-
Superhero Hype Cosplay: Creating Power Girl #13

At the top edge of the cape I stitched a casing for the chain to go through to clip to the medallion. For that I used a golden snake chain belt and a gold belt buckle I scavenged from another belt, both from Amazon.
-
Superhero Hype Cosplay: Creating Power Girl #14

And I also added a brooch pin to the back of that buckle to attach it to the cape. A second belt buckle was used to create my belt, which elastic encased in the cape fabric to match.
-
Superhero Hype Cosplay: Creating Power Girl #15

Top it with blue gloves and boots and POW! Power Girl is done!


