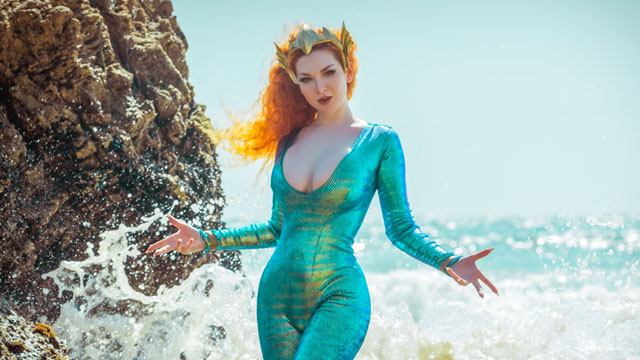
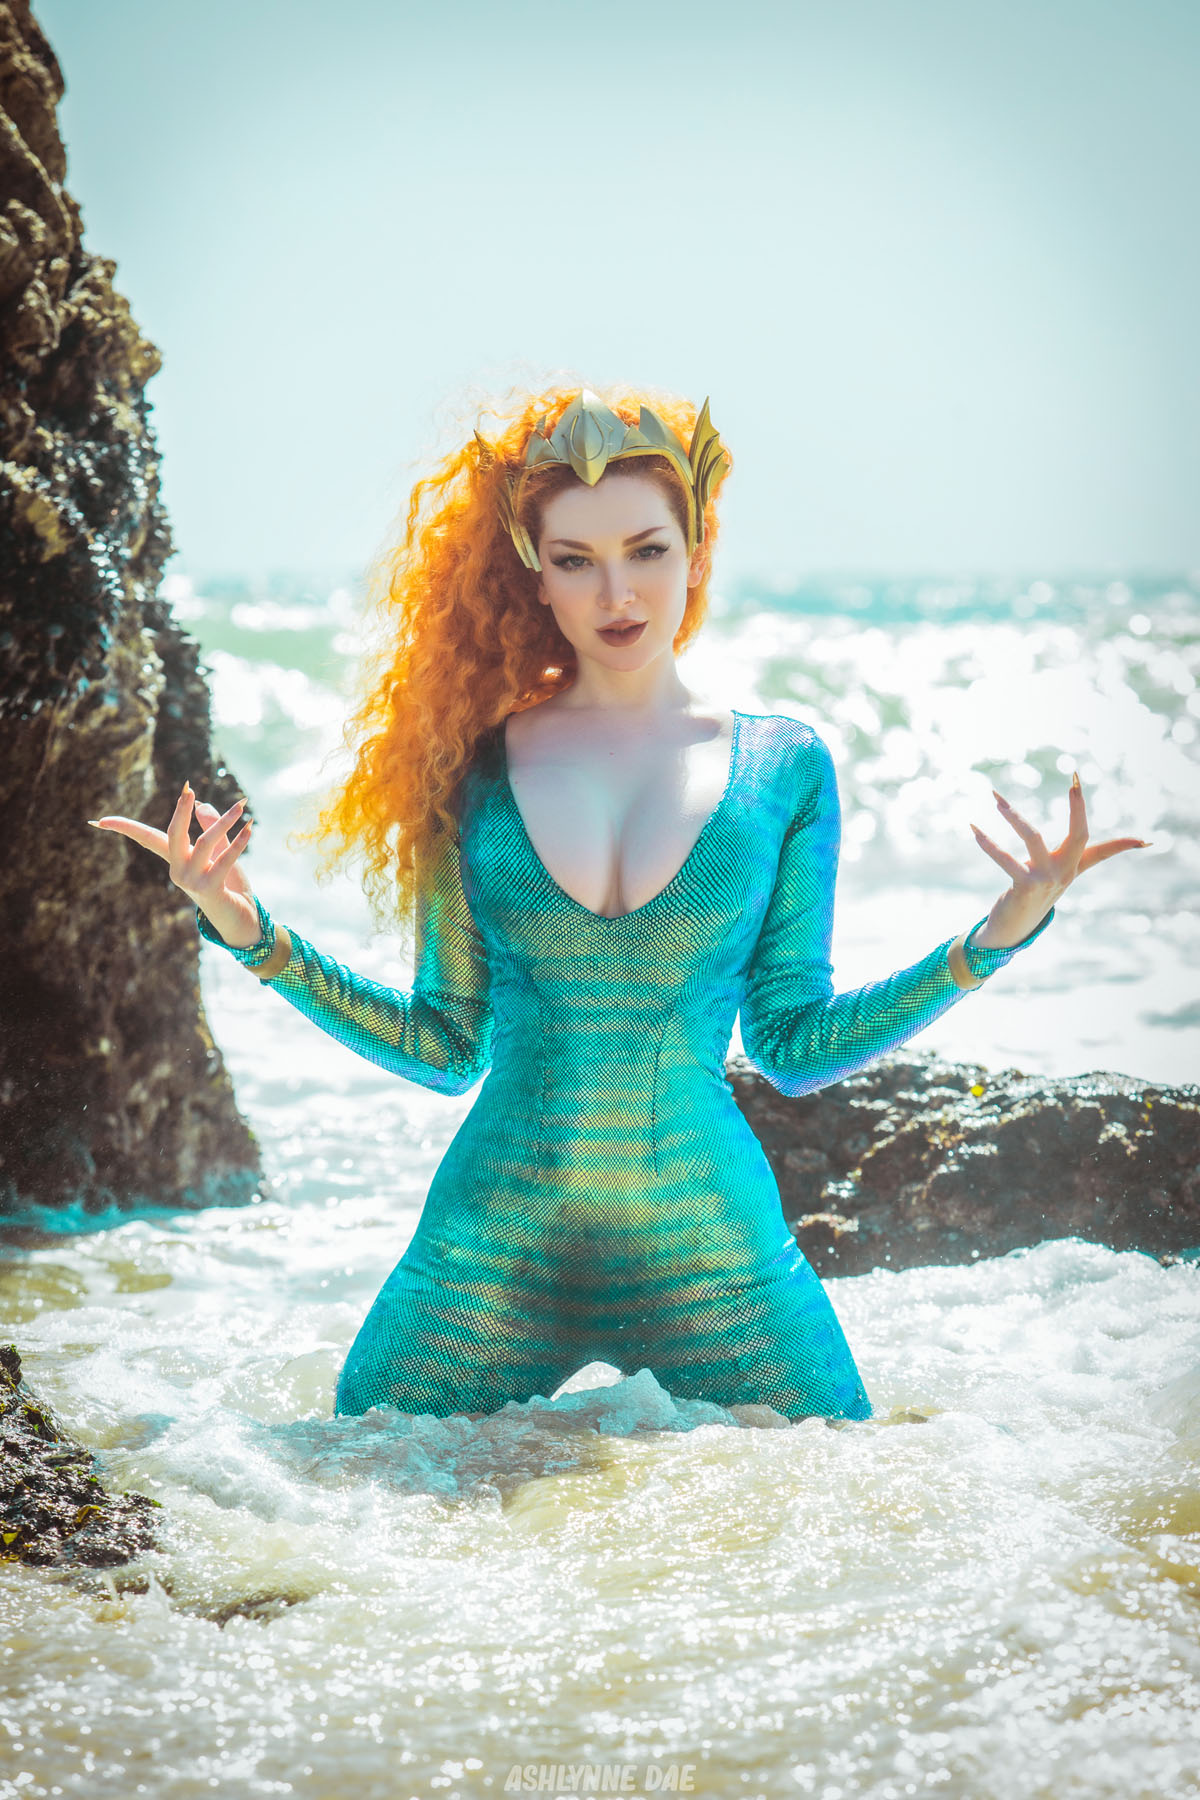
Note From the Editor: Superhero Hype’s cosplay correspondent, Ashlynne Dae, is back with a look at how she created a costume based on Y’Mera Xebella Challa. Or you know, you can just call her Mera. Jack Miller and Nick Cardy created Mera in 1963 as Aquaman’s love interest, and she later became his wife. But in the last two decades, Mera has had a much larger role in DC’s comic book universe. She even headlined her own miniseries. Now, Mera is once again Aquaman’s wife, but she’s also a member of the Justice League and a heroine in her own right.
Hello beautiful humans! I recently had a chance to whip up a classic Mera cosplay, and this week, I am going to talk a bit about how I went about it.
RELATED: Superhero Hype Cosplay: Jean Grey as Marvel Girl
You can get this full set on my website!
Patreon: patreon.com/ashlynnedae
Official Site: ashlynnedae.com
Instagram: @ashlynnedae
Twitter: @ashlynne_dae
Premium Only Fans: onlyfans.com/ashlynnedae
Free Only Fans: onlyfans.com/ashlynnedaefree
Photographer Credit:
Happy Trigger LA
Instagram: @happytriggerla
Only Fans: onlyfans.com/happytrigger
Superhero Hype Cosplay: Creating Mera
-
Superhero Hype Cosplay: Creating Mera #1
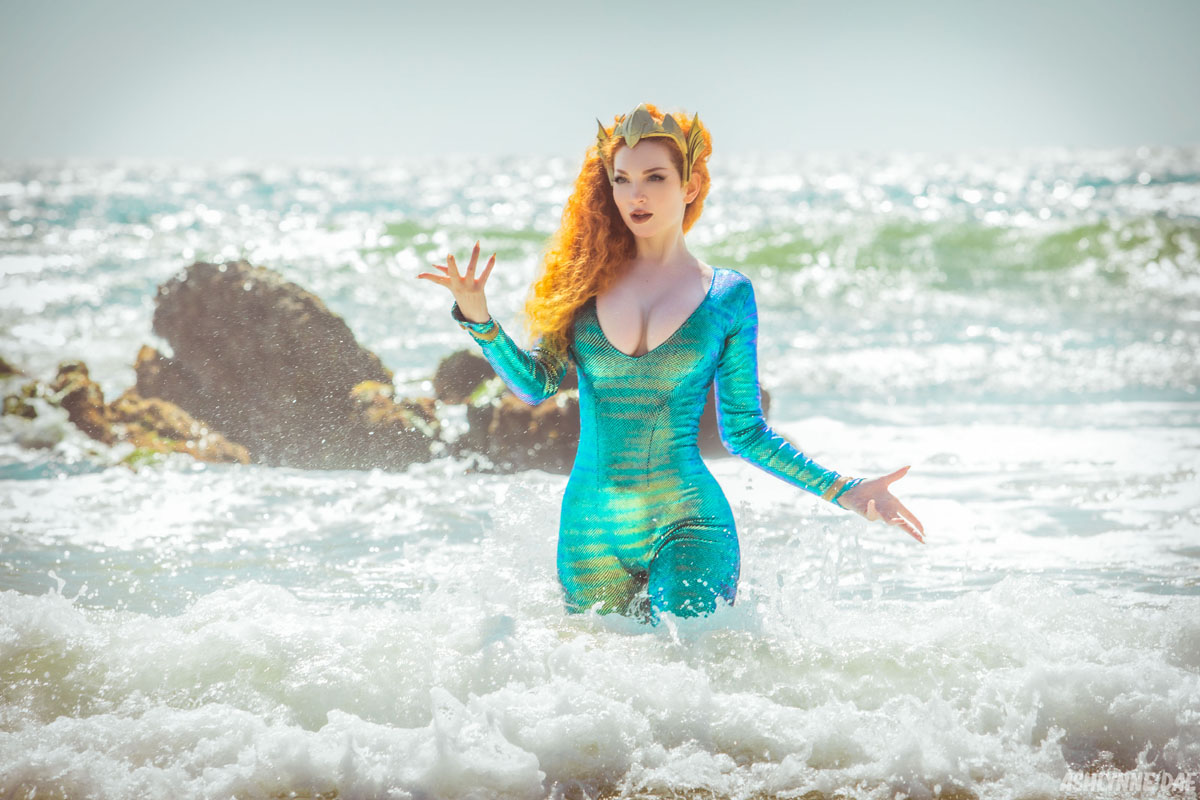
I was lucky enough to be able to shoot this at a beach in what was my first outside shoot in more than 8 months. The photographer is vaccinated, and I just received my first dose.
So we believed it was safe enough for an outdoor shoot in open air, all socially distanced. And he was wearing a mask of course!
-
Superhero Hype Cosplay: Creating Mera #2
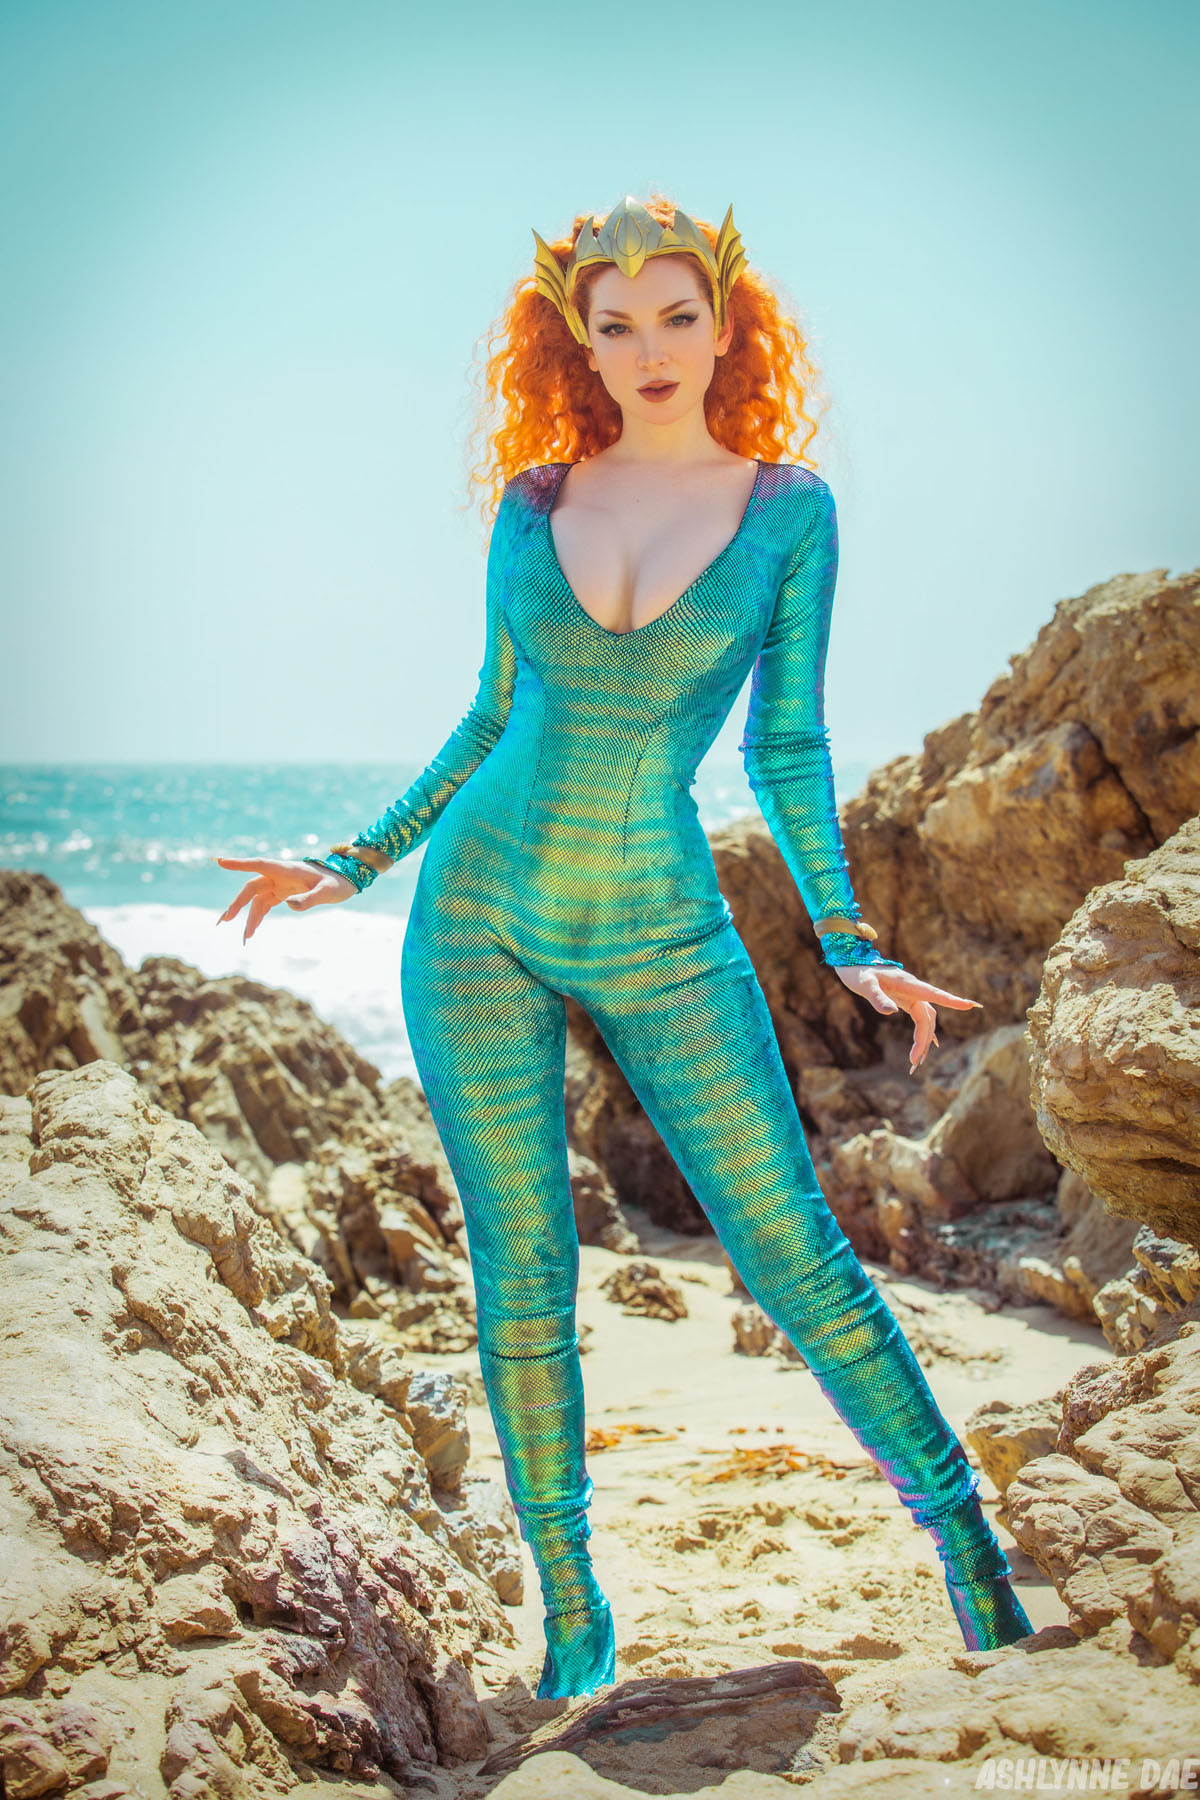
Even though the weather turned a bit sour before we really finished, we did get some great shots. and I am so glad.
Now, on to the process!
-
Superhero Hype Cosplay: Creating Mera #3
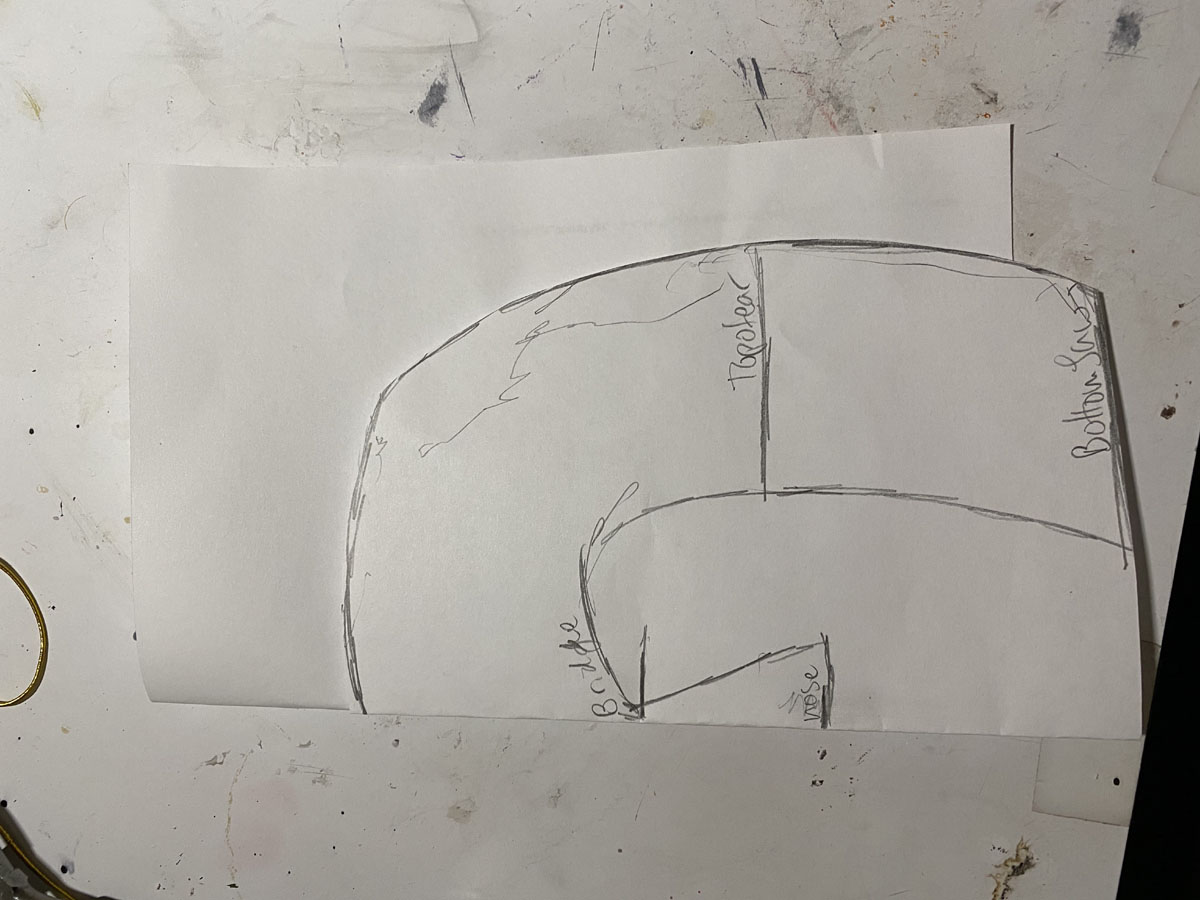
To create this Mera cosplay, the first task I set about was making her diadem. I went off a few references for her newer comic book design for this, as I think that the subtler design matched my tiny face better than the larger, older designs.
-
Superhero Hype Cosplay: Creating Mera #4
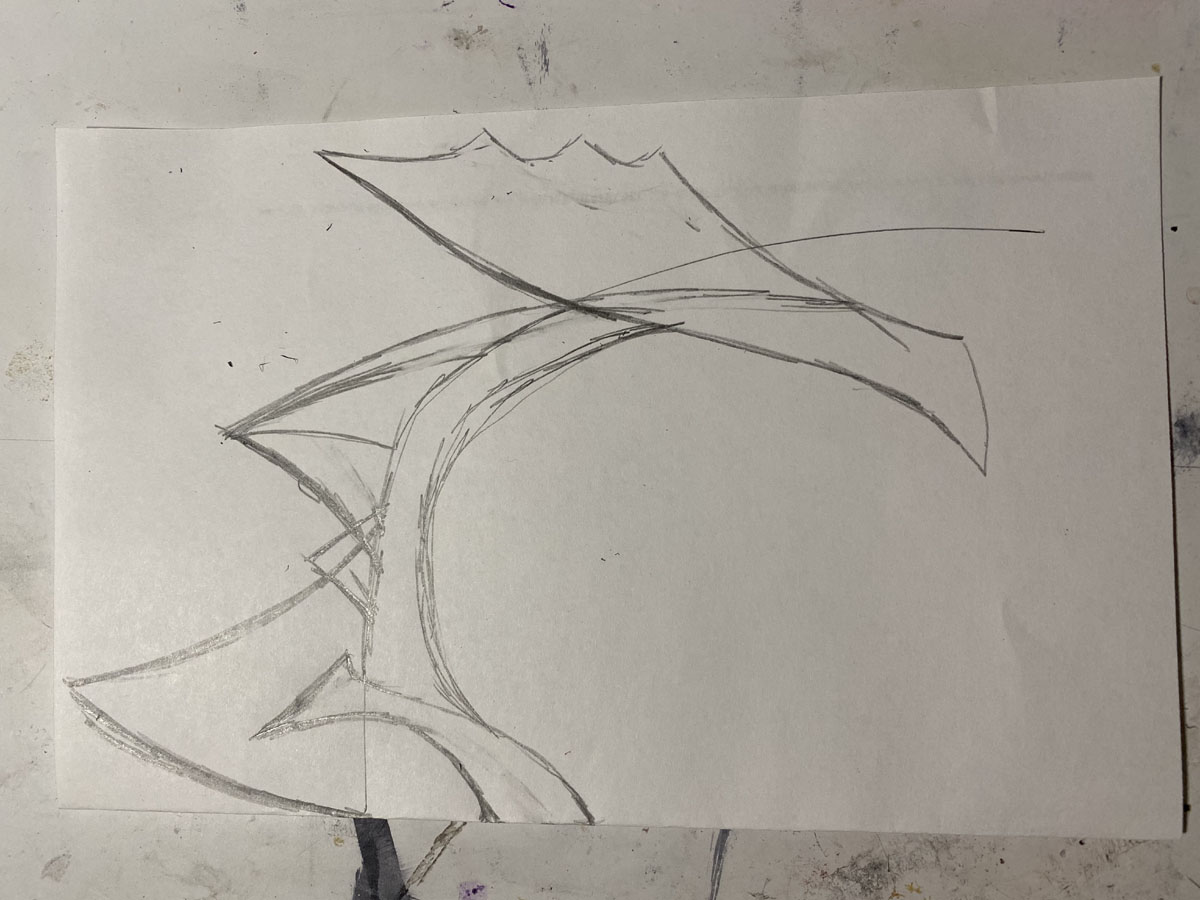
Using a template I have for my face proportions I sketched out the diadem in the half flat. I highly recommend making a face template if you don’t have one. It is super helpful for sketching mask and headwear pieces.
All you need to do is fold a piece of paper in half and hold up that sheet to your face, covering half of it. Then mark out your features like hairline, jaw, nose tip, nose bridge, nose width, brows, and ears, etc.
-
Superhero Hype Cosplay: Creating Mera #5
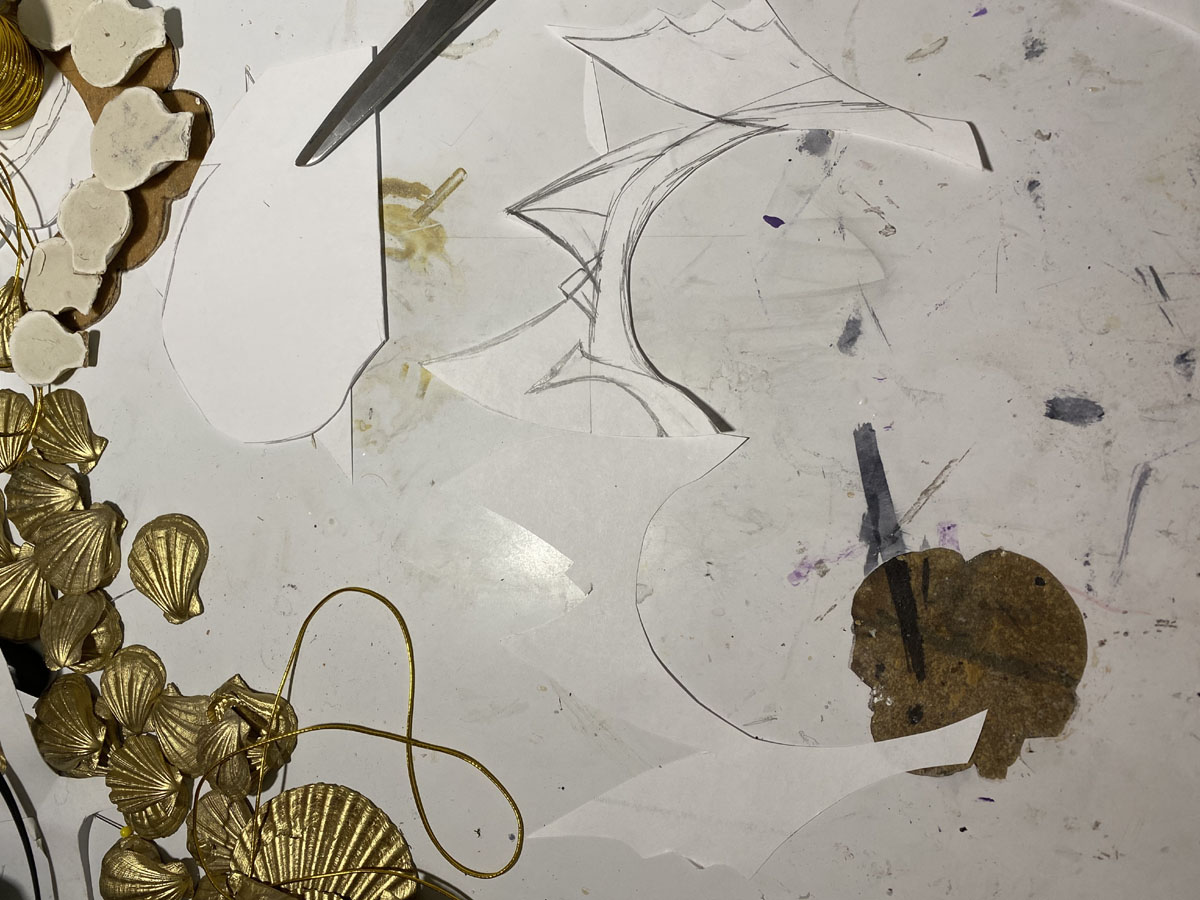
You’ll have a weird looking helmet situation but I promise it will be so helpful.
-
Superhero Hype Cosplay: Creating Mera #6
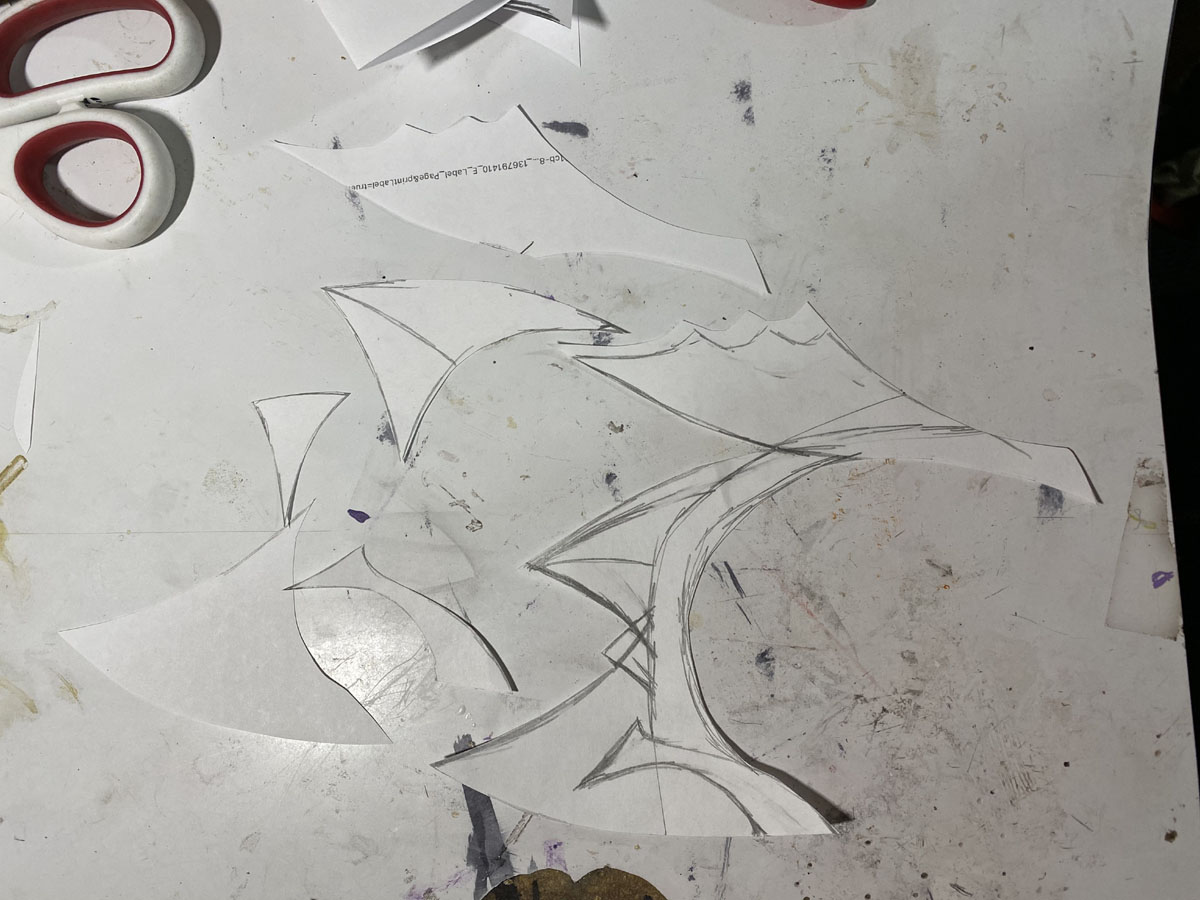
Once I finished sketching out the details of Mera’s diadem on the half as well, I cut out the full template, and using the side that didn’t have the sketch guides on it, I traced the smaller pieces for the layering details and cut those out.
-
Superhero Hype Cosplay: Creating Mera #7
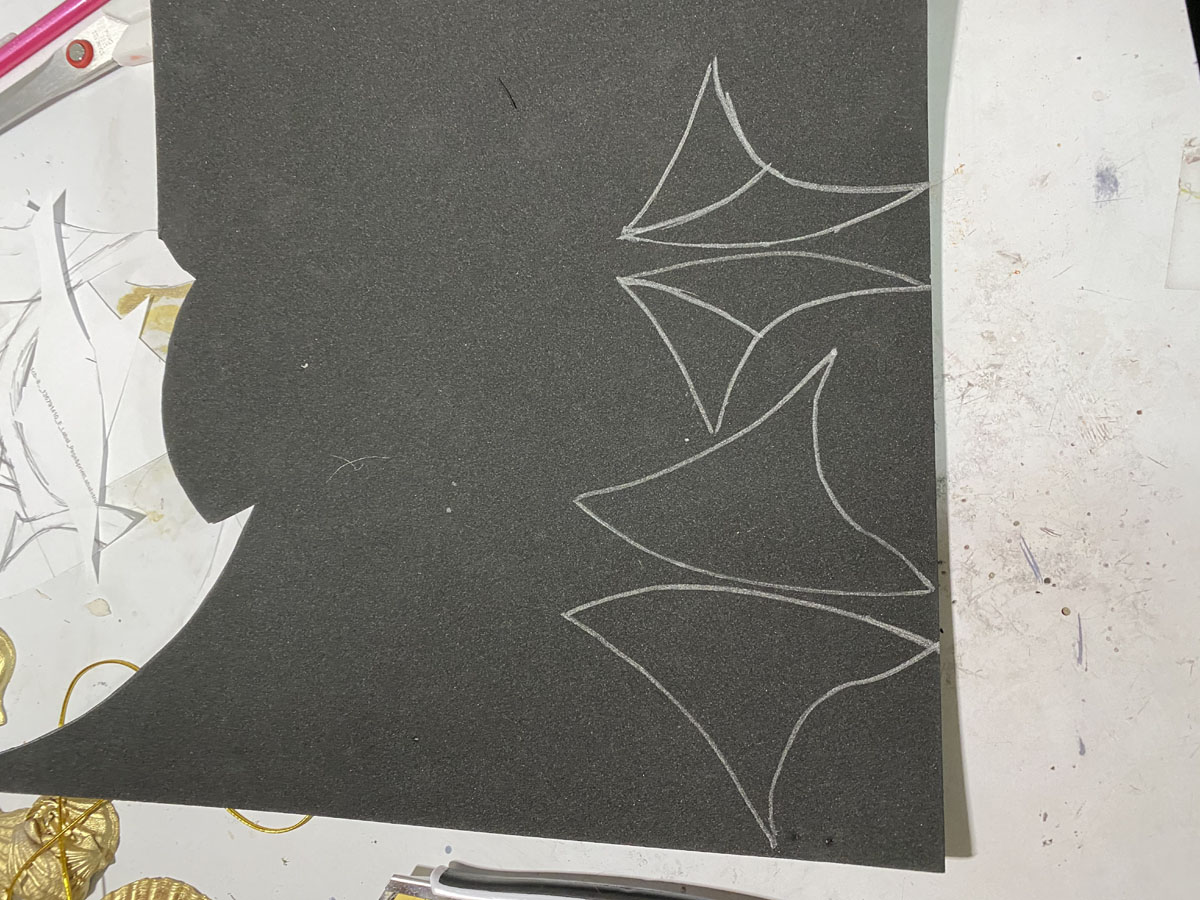
I then traced all those pieces out on to some EVA foam, using 2mm for the base and the small points and top sigil, and 5mm for the lager points.
-
Superhero Hype Cosplay: Creating Mera #8
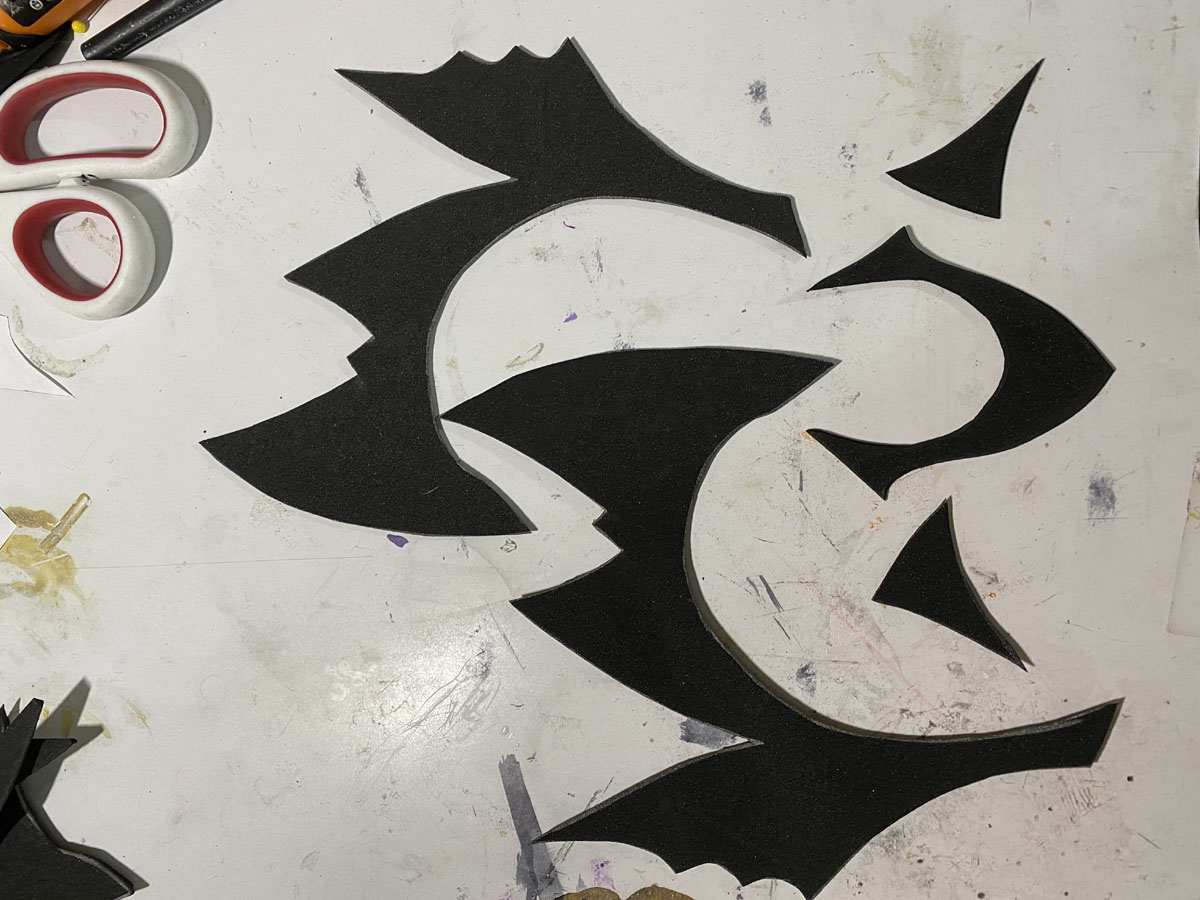
I cut those out, bevelling the cut on the large points inward where they curve in the middle, so that when they are glued they will fit flush.
-
Superhero Hype Cosplay: Creating Mera #9
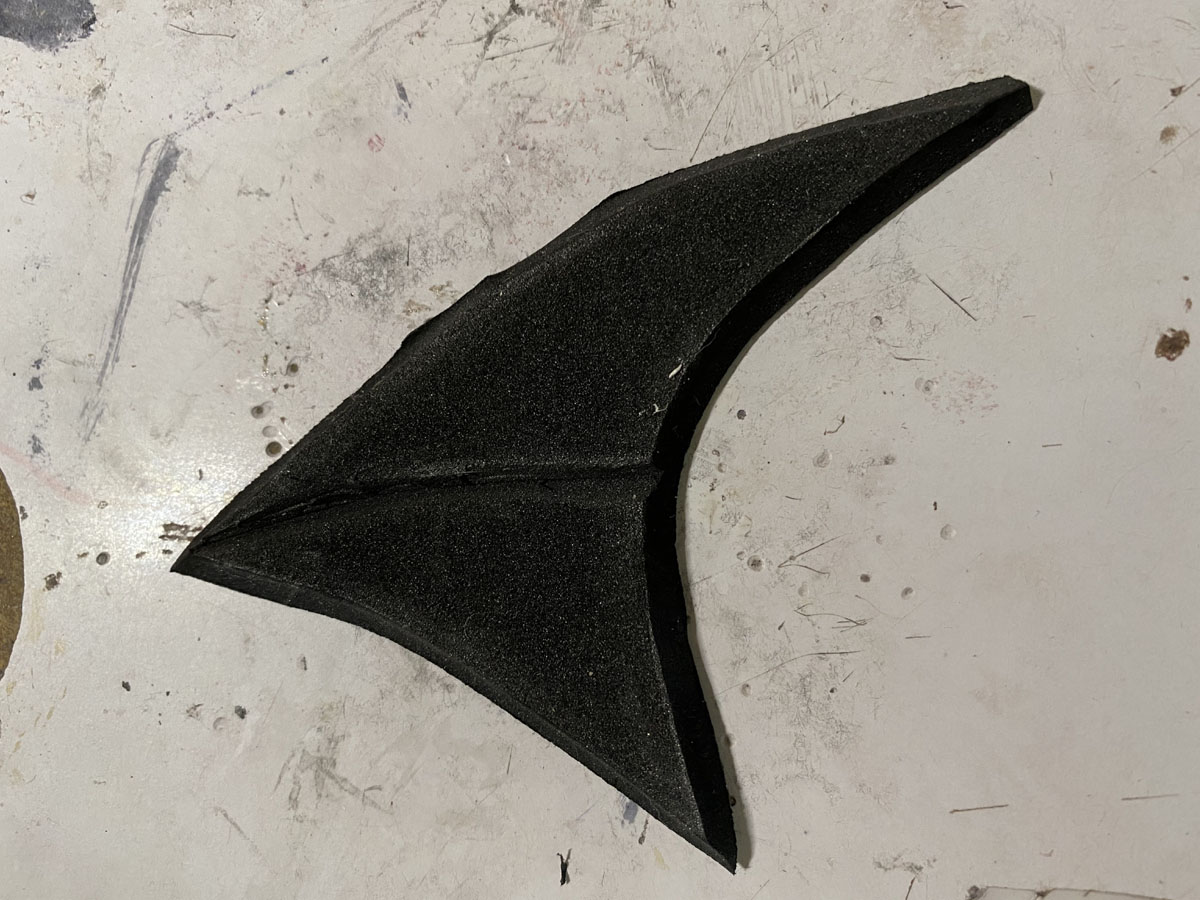
Then for the secondary points, because the surface bevels slightly, I cut a wedge of the foam out on the backside along that curved line so when I glued it together the front would look more dimensional.
I then started in on the gluing process. I glued the center point together along the bevelled edge, then layered all my pieces onto the base and topped it off with the thinner detail pieces.
-
Superhero Hype Cosplay: Creating Mera #10
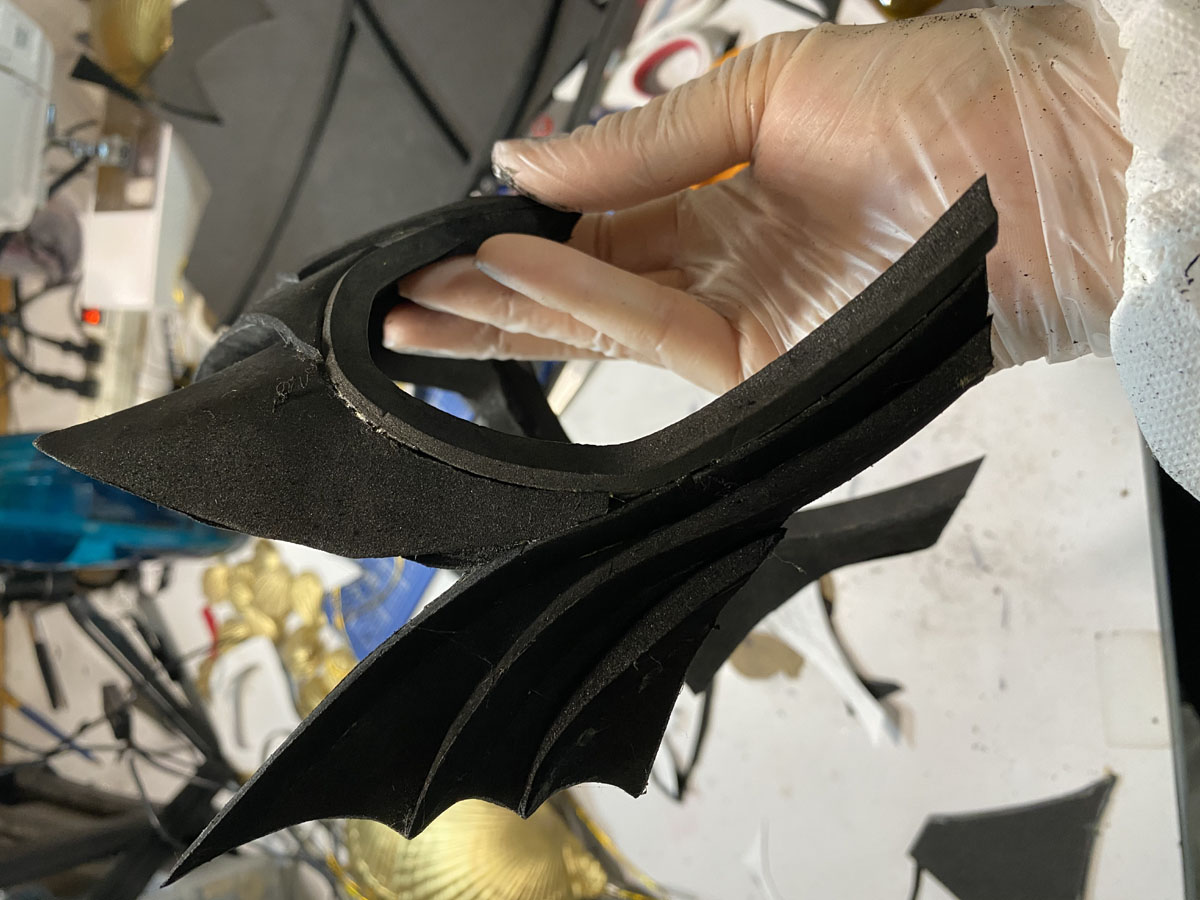
I added some bevelled strips of 5mm foam to the “wing” pieces to add some dimension and finished the front with another strip to hide any edges and give it a cleaner finish. I then did some dremelling to shape the points from the backside and cleaned up any unevenness.
I made sure to protect myself from the fumes and contact of the barge, as I am very allergic to it, but it's a must when you are working with foam.
-
Superhero Hype Cosplay: Creating Mera #11

I recommend doing so as even if you aren’t allergic to it now. If you work with it unprotected often enough (like I did when I made Sylvanas Windrunner), you can develop severe reactions to it.
So open the windows, wear a respirator, and gloves at the very least.
Once the diadem was complete, I took it outside to prime it with Plastidip and paint it gold. Then it was time to turn my attention to the suit.
-
Superhero Hype Cosplay: Creating Mera #12

For the suit I chose this interesting iridescent fabric with a scale pattern I got from a seller on Etsy. It was a little less stretchy than expected, but that can happen when you can’t buy fabric in person.
I used my seamless bodysuit block on the fold, pointed sleeve and boot blocks.
-
Superhero Hype Cosplay: Creating Mera #13
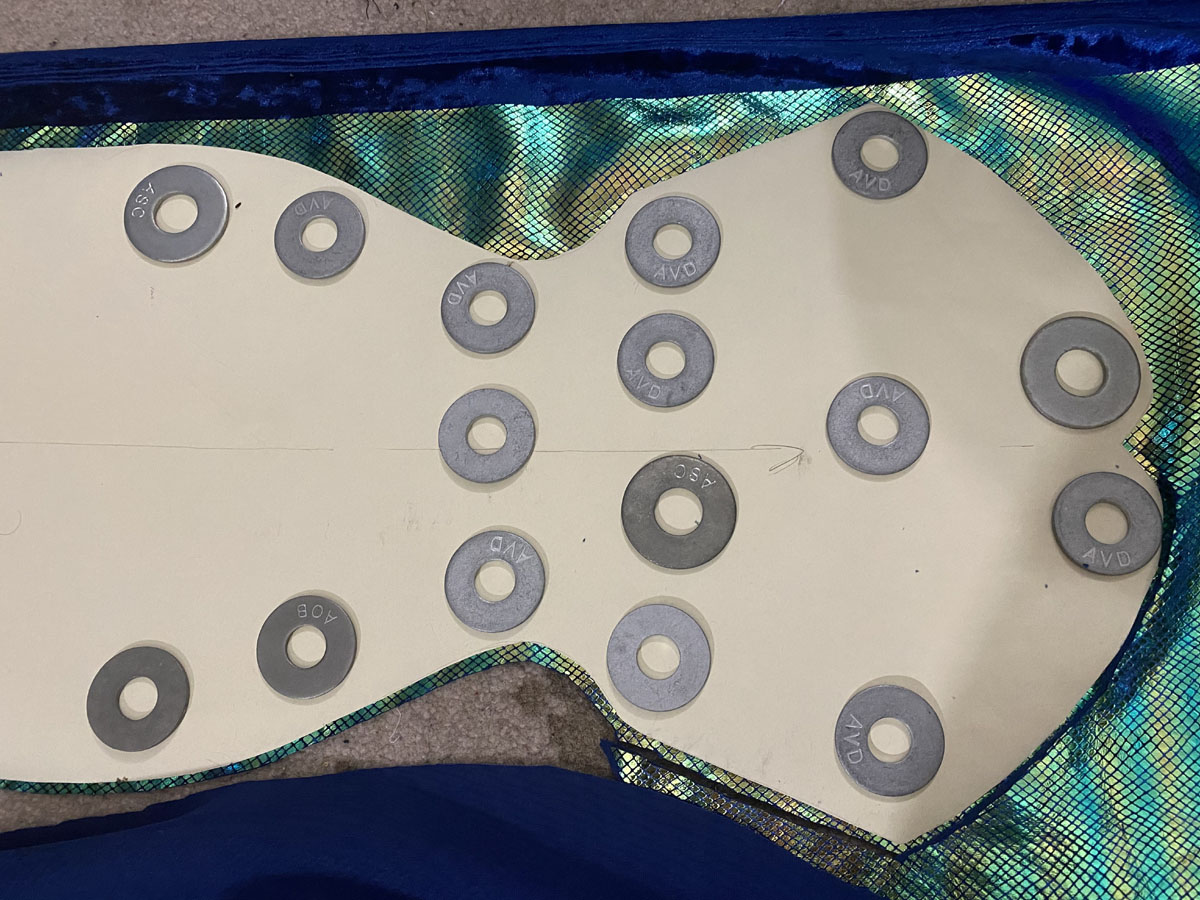
I ended up cutting the boots and the suit separately, but I had them layered for the picture to show that I followed the boot pattern’s lower leg shape so there would be less added bulk around the ankle when worn.
The actual boot I cut off at the knee as it didn’t need to go up to the thigh, and I added extra seam allowance. My blocks have seam allowance in them, but that’s not standard! Once everything was cut out, I started sewing it together.
-
Superhero Hype Cosplay: Creating Mera #14
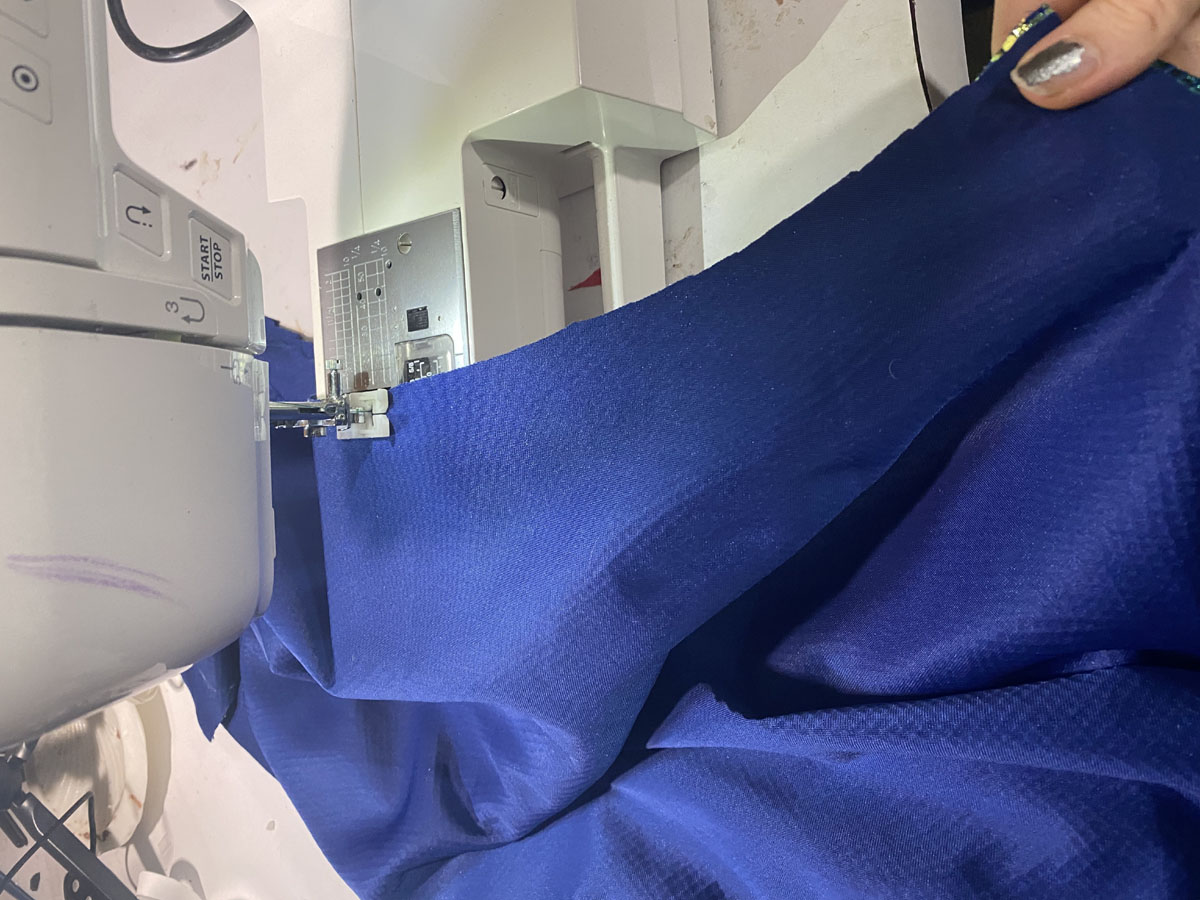
This was a pretty quick sew, as there aren’t a ton of seams on this one. I first sewed the bodysuit’s back seam together to the crotch point, then stitched the shoulders together.
I didn’t need to add a zipper for this as the neck opening is large enough to slip on. After that I stitched the leg seams together, matching the front and back crotch points.
-
Superhero Hype Cosplay: Creating Mera #15
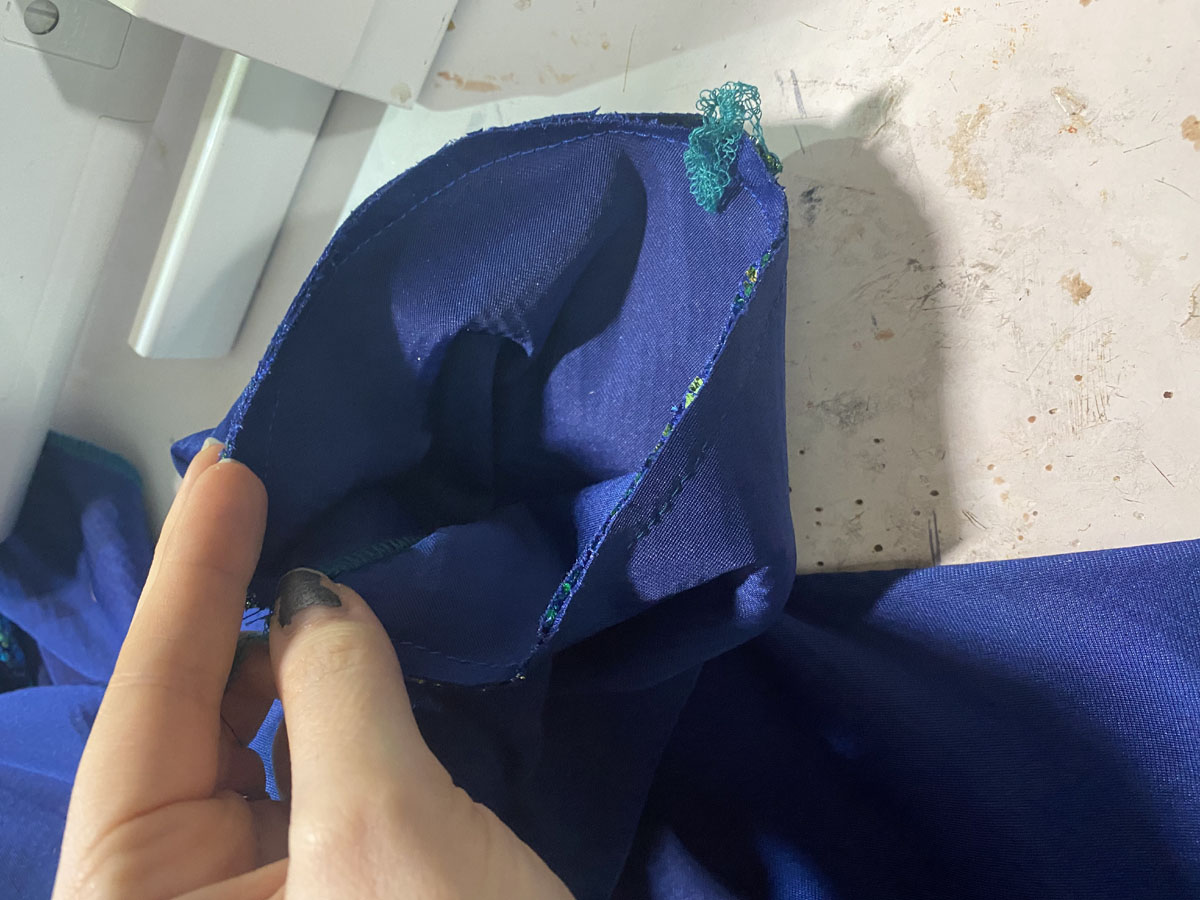
I tried this on and realized that I was going to need some extra shaping. So I added some darts to the front. Not something I usually have to do if I use spandex fabric with a high degree of stretch. But it was necessary in this case!
Once I got it fitting the way I wanted it to, I stitched on the sleeves and gave the neckline and sleeves a hem
-
Superhero Hype Cosplay: Creating Mera #16
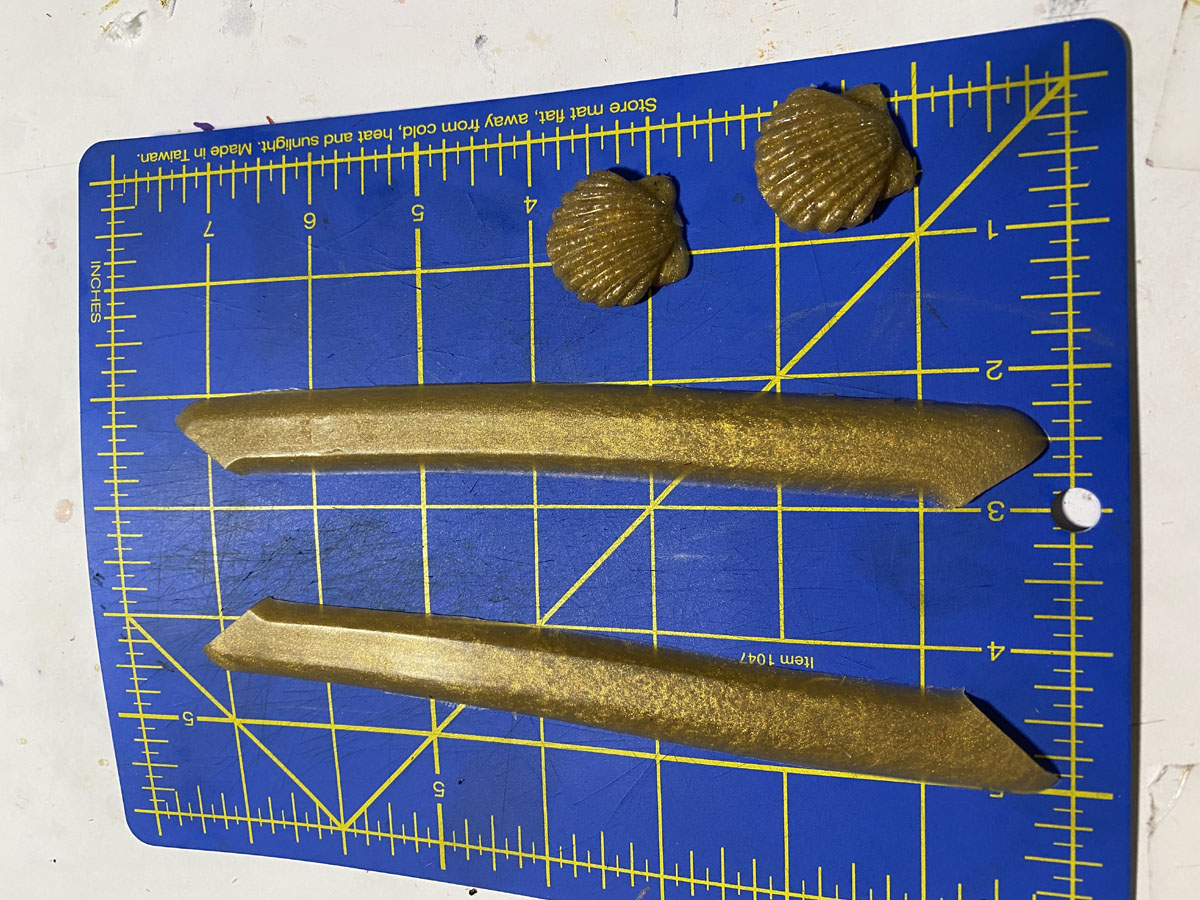
I then stitched the boots together and slipped in the wedges that I always use for this kind of suit shoe. After all that was finished, I made some silicone bracelets using some leftover materials from another project I will be unveiling soon, because Mera usually sports short gold bracelets with the sleeved version of her costume.
And with that the costume was finished.
-
Superhero Hype Cosplay: Creating Mera #17
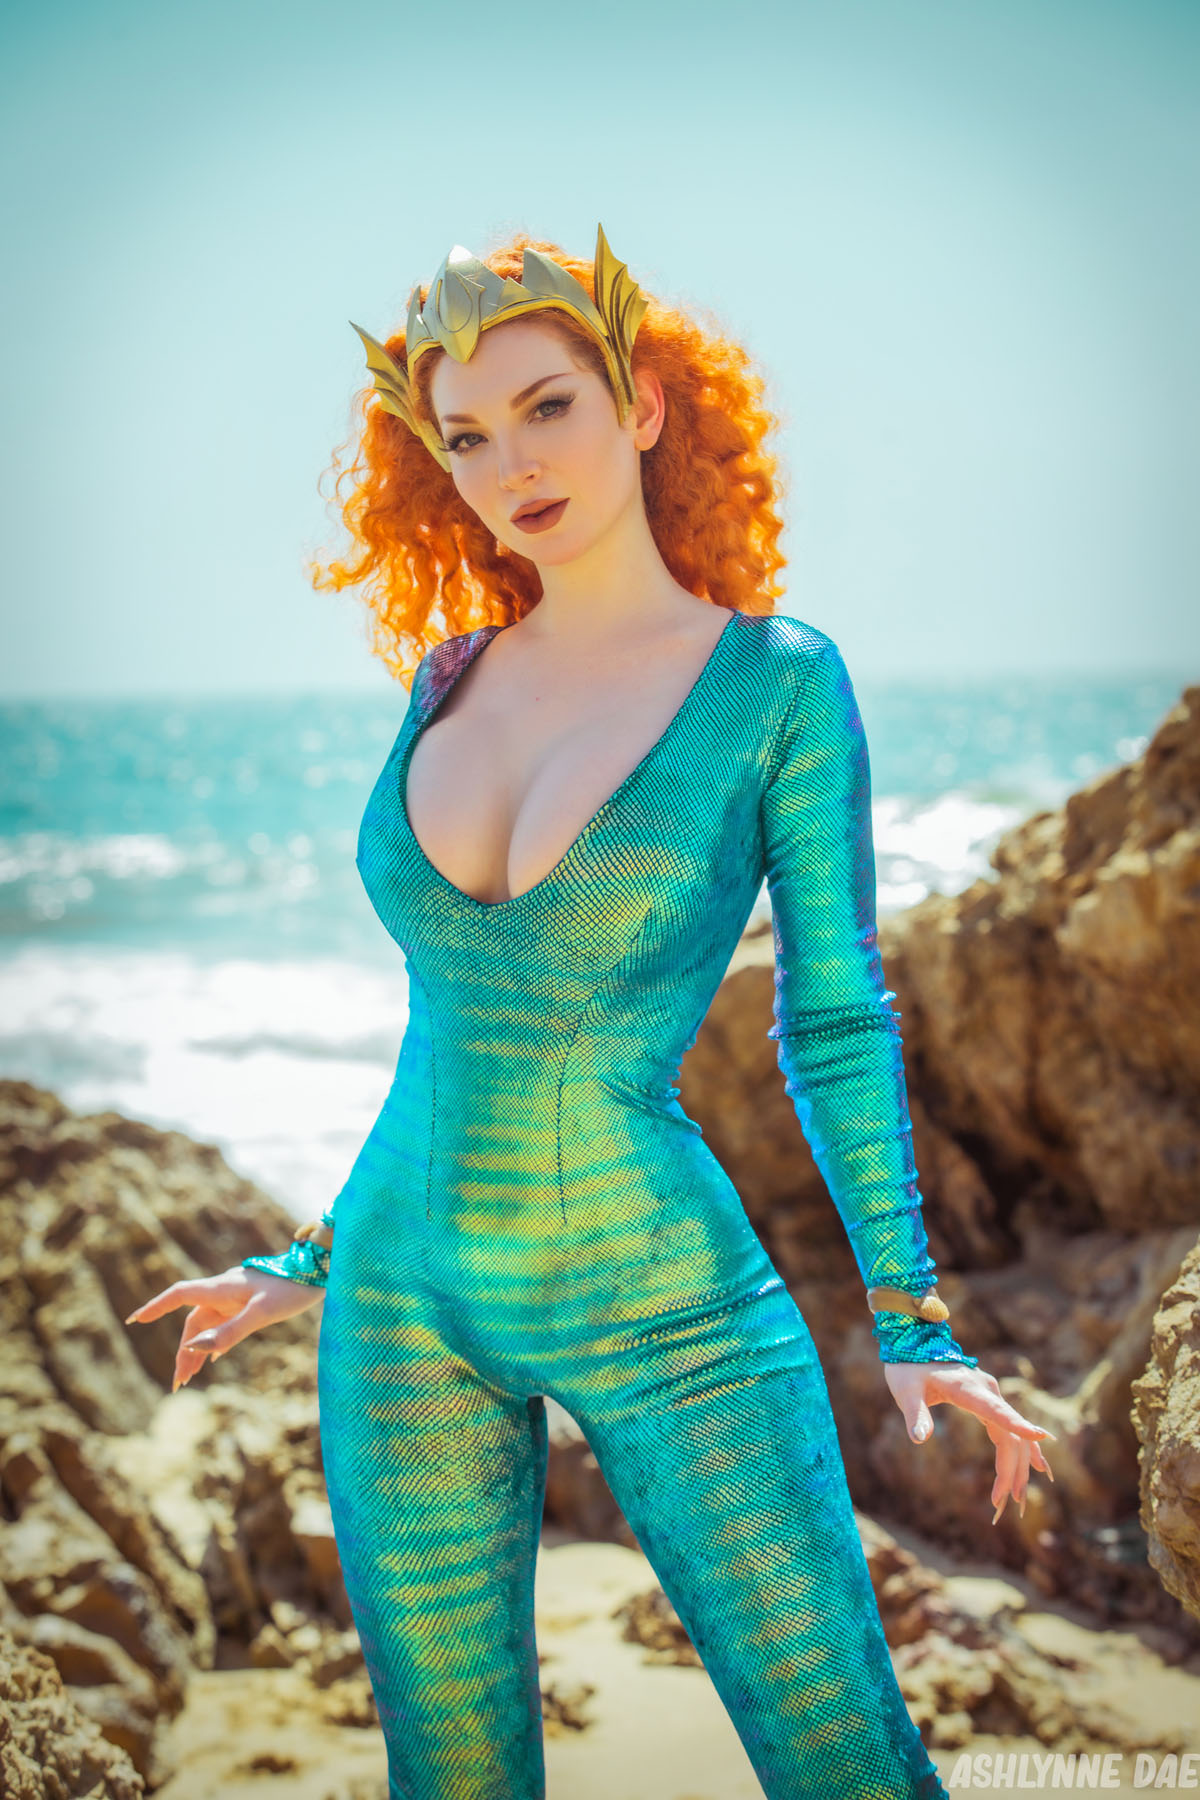
We took to the beach to get some awesome water shots, but I forgot my gold earrings for her!
-
Superhero Hype Cosplay: Creating Mera #18
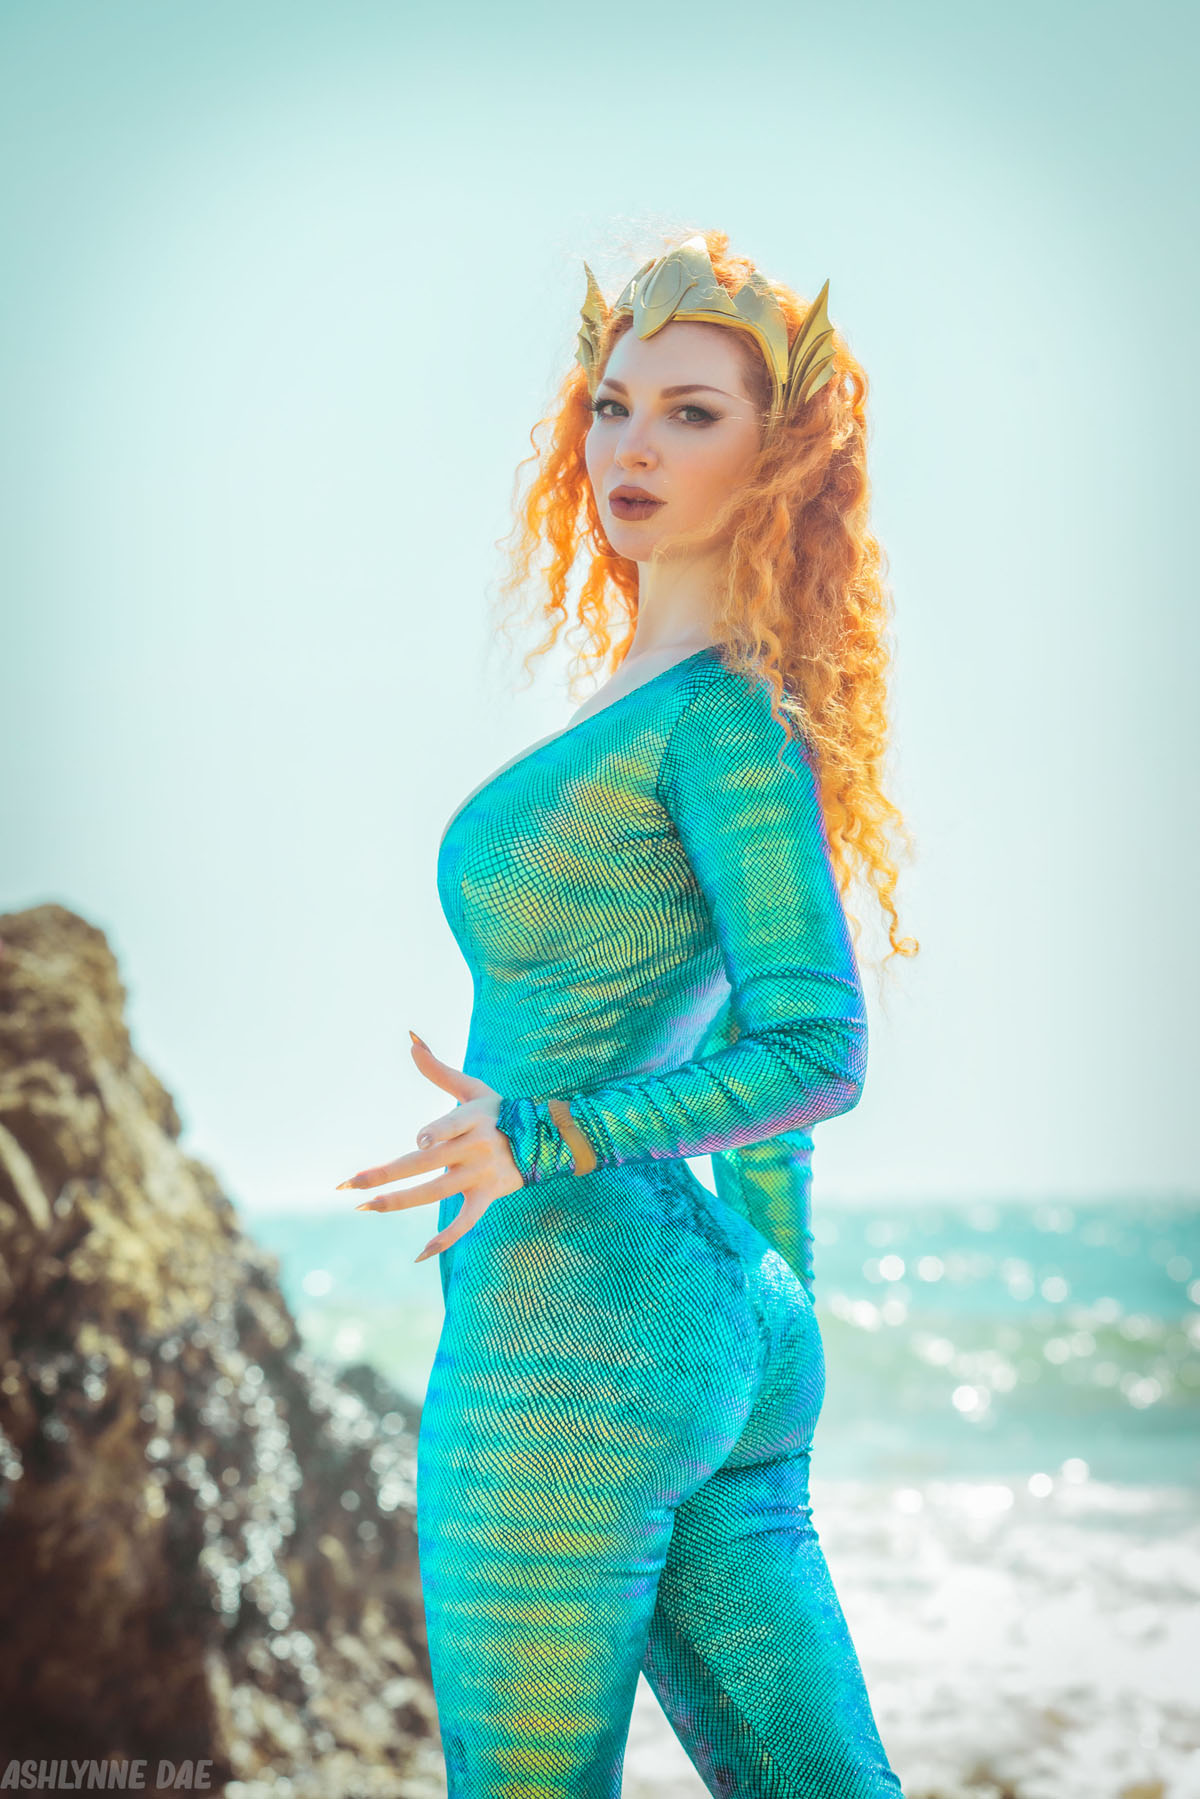
However, I think it turned out well anyway.
-
Superhero Hype Cosplay: Creating Mera #19
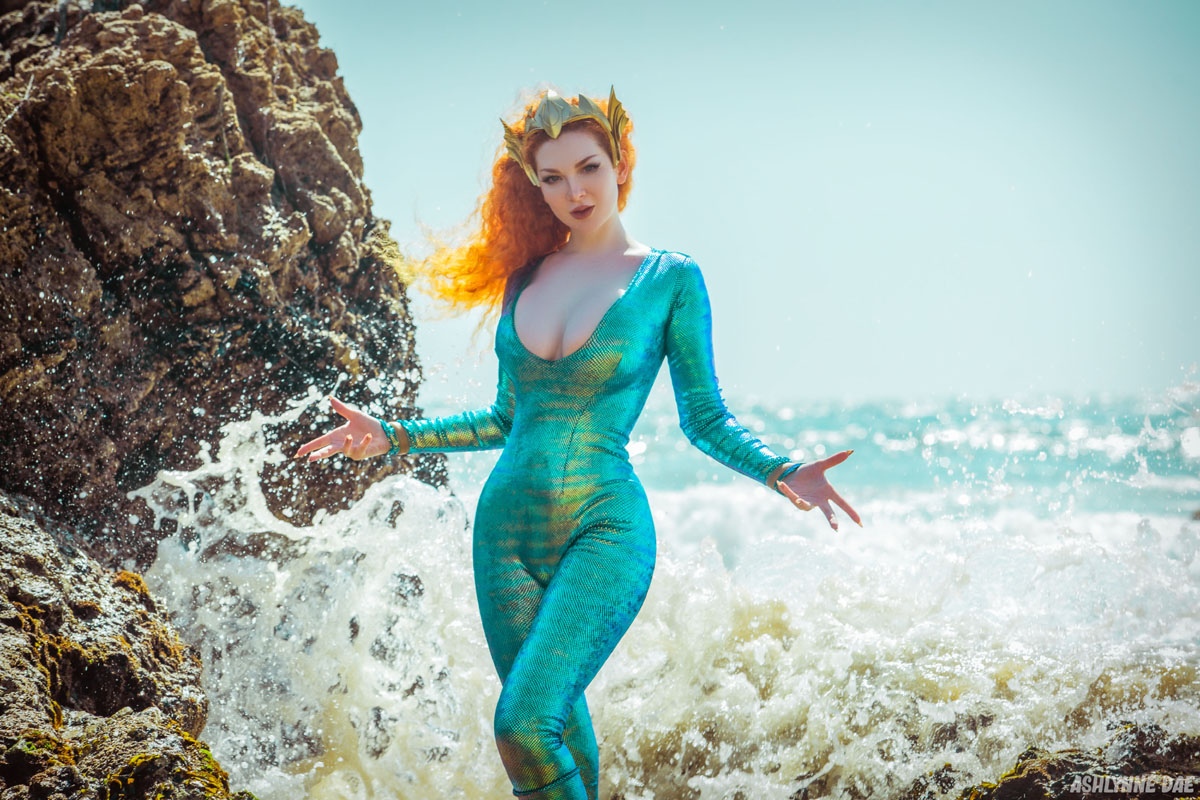
And it was so nice to feel the sun again!
-
Superhero Hype Cosplay: Creating Mera #20
I hope you enjoyed checking out this process! Happy crafting!
